
Your Hair Is Waging War Every Day
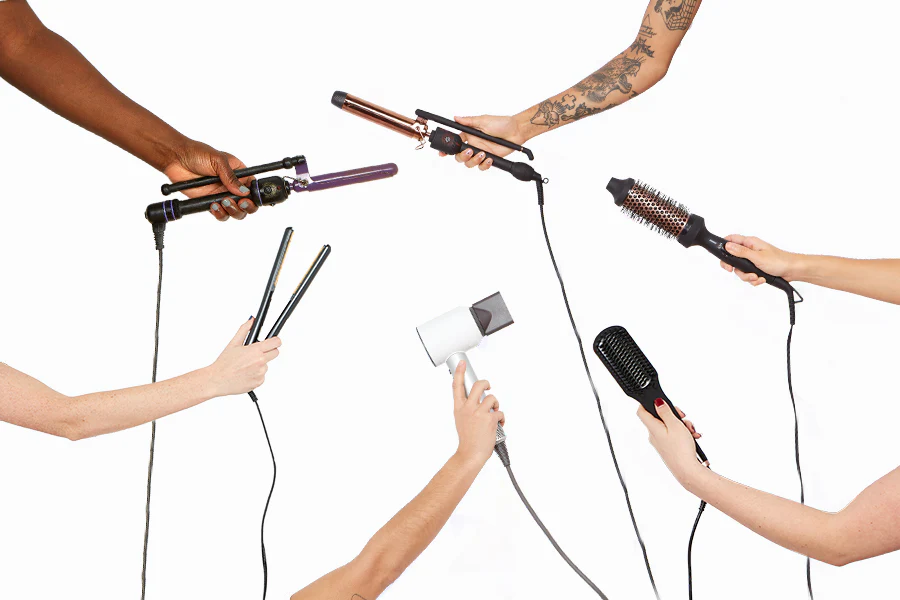
Each time you pick up a flat iron, blow dryer, or curling wand, your hair pays the price.
Heat styling tools can reach temperatures of 300°F to 450°F — hot enough to fry an egg. And your hair? It’s being submitted to that heat several times a week.
The result? Brittle, dry, frizzy, broken hair that over time loses its lustre and strength.
But here’s the good news — heat damage is nearly 100 percent avoidable.
You don’t have to ditch your styling tools. You just have to use them more intelligently. With these 6 potent heat protection hacks, your hair can stay strong, shiny, and healthy while still getting the styles you adore.
Let’s get into it.
What Heat Really Does to Your Hair
Before delving into the hacks, it’s useful to know what you’re defending against.
The outer layer of your hair is called the cuticle. Think of it like tiny overlapping scales on a fish. When your hair is healthy, those scales lay flat and smooth. That is what contributes to hair’s lustre.
When you apply high heat, those scales lift away and separate. The inner layer of your hair — called the cortex — becomes exposed and weakened. The proteins in the hair break down. Moisture evaporates.
Over time, this leads to:
- Split ends
- Breakage
- Frizz and dullness
- Loss of elasticity (hair that breaks instead of stretches)
- Color fading in dyed hair
The more frequently you style with heat without protection, the worse it gets. Hair, unlike skin, cannot heal itself. Once it’s damaged, there’s no fixing it — only cutting it.
That makes heat protection not a luxury — but a necessity.
Hack #1 — Always Use a Heat Protectant Product (And Use It Properly)
The Key Step Most People Miss
This one sounds obvious. But you wouldn’t believe how many people either neglect it completely or use it incorrectly.
A heat protectant is a spray, cream, serum, or oil that you coat on your hair before applying heat. It creates a shield between your strands and the heat of the tool. It insulates against heat transfer and retains moisture.
Without it, you might as well be pressing a 400°F iron directly onto bare strands. With it, you’re giving your hair a fighting chance.
How to Use a Heat Protectant the Right Way
Most people spray it on and immediately grab a flat iron. That’s not how it works.
Here’s the right way:
- Apply the protectant to damp or dry hair — depending on product instructions.
- Section your hair and apply evenly from roots to ends.
- Allow it to fully dry before using any heat tool. Applying heat on wet product can actually cause more damage — the moisture turns to steam and expands inside the hair shaft.
- Don’t forget the ends — they’re the oldest and most brittle part of your hair.
How to Choose a Heat Protectant for Your Hair Type
Not all protectants are equal. Using the wrong one for your hair type makes it less effective.
| Hair Type | Best Protectant Form | Key Ingredient to Look For |
|---|---|---|
| Fine / Thin | Lightweight spray | Cyclomethicone, hydrolyzed silk |
| Thick / Coarse | Cream or serum | Argan oil, shea butter |
| Curly / Coily | Leave-in cream or oil | Coconut oil, keratin |
| Color-treated | UV + heat spray | Vitamin E, panthenol |
| Dry / Damaged | Serum or oil blend | Marula oil, biotin |
Look for products that protect up to at least 450°F — especially if you’re using professional-grade tools.
Hack #2 — Use a Lower Temperature on Your Styling Tools
The Heat Setting You Use Matters More Than You Think
Most people take a flat iron or curling wand and crank it to the highest setting possible, then leave it that way. It feels faster and more effective.
But high heat is the number one cause of heat damage.
The reality: most hair types do just fine at temperatures well below 350°F, and many hair types can get by at 300°F or even lower.
The Right Temperature for Your Hair Type
This is a heat protection hack you can start using today — at zero cost.
| Hair Type | Recommended Temp | Max Safe Temp |
|---|---|---|
| Fine / Fragile | 250°F – 300°F | 300°F |
| Normal / Medium | 300°F – 350°F | 380°F |
| Thick / Coarse | 350°F – 400°F | 420°F |
| Curly / Coily (natural) | 300°F – 365°F | 380°F |
| Color-treated / Bleached | 250°F – 300°F | 320°F |
Bleached and color-treated hair is the most vulnerable. It has already undergone chemical processing that removes natural proteins. Adding high heat on top of that is a recipe for real breakage.
Invest in a Tool With Adjustable Temperature Settings
If your styling tool has only one heat setting or just a “low/medium/high” dial, it may be time to upgrade.
Professional tools with precise digital temperature controls allow you to take full command of the heat you apply. Brands like GHD, T3, and BaByliss are known for consistent, regulated heat that is gentler on hair.
Hack #3 — Prepare Your Hair Before Heat Styling
What You Do Before Styling Is Just as Important as the Styling Itself
Heat protection begins long before you touch that flat iron. It starts in the shower.
The condition your hair is in before you style it dictates how much damage will happen. Dry, brittle, poorly nourished hair suffers more from heat than hair that’s hydrated and strong.
Just like outdoor plants thrive with the right prep and care — check out Small Balcony Garden for proof of how a little nurturing makes a big difference — your hair performs best when it’s properly nourished before any heat is applied.
Build a Pre-Styling Routine That Shields Your Hair
Use a moisturizing shampoo and conditioner. Avoid sulfate-heavy shampoos that strip natural oils. Healthy moisture levels within the hair shaft provide a natural buffer against heat.
Deep condition weekly. A weekly deep conditioning treatment restores the proteins and moisture that heat styling strips away. Look for masks containing keratin, collagen, or hydrolyzed proteins.
Don’t style soaking wet hair. Hair is at its most fragile when wet. Water loosens the bonds in the hair shaft, making it extremely vulnerable to heat. Always blow dry to at least 80 percent dry before flat ironing or curling.
Detangle before applying heat. Running a hot tool through tangled hair causes mechanical damage on top of heat damage. Always gently brush through before styling.
The Pre-Styling Checklist
| Step | Why It Matters |
|---|---|
| Moisturizing shampoo | Retains natural oils in the hair |
| Weekly deep conditioning | Replenishes proteins and moisture |
| Blow dry before flat ironing | Prevents steam damage to wet hair |
| Detangle gently | Reduces breakage during styling |
| Apply heat protectant | Shields hair from direct heat |
Hack #4 — Embrace the One-Pass Rule
Fewer Passes = Less Damage, Period
This is one of the most underrated heat protection hacks. And it costs nothing to use.
Every time your flat iron or curling wand passes over a section of hair, that section absorbs more heat. One pass is manageable. Three or four passes over the same section? That’s cumulative damage that adds up fast.
The goal is to achieve your desired result in one smooth, confident pass per section.
Nailing the One-Pass Technique
Most people make multiple passes because the section is too thick or the tool isn’t hot enough for their hair type.
Here’s how to fix that:
Take smaller sections. With a flat iron, sections shouldn’t exceed 1 to 2 inches in width. Thicker sections don’t style evenly in one pass, which means going over them again.
Move at a steady pace. Don’t drag the iron too slowly — that creates heat buildup in one spot. Don’t rush it either — that leaves the hair unstyled. Find a smooth, even speed.
Make sure your tool is fully heated. Allow your tool 2 to 3 minutes to reach the set temperature before using it. A half-warm tool takes more passes to achieve the same result.
Use a comb or brush attachment. Some flat irons and blow dryers include a comb or brush attachment that enables you to style more efficiently in fewer passes.
Hack #5 — Give Your Hair Regular Heat-Free Days
Your Hair Needs Time to Recover
No heat protectant can completely eliminate the stress that hot tools put on your hair. The number one heat protection hack of all? Giving your hair a break.
Heat-free days let your hair rehydrate, rejuvenate, and rebuild. They lower the cumulative amount of heat damage your hair undergoes week to week and month to month.
And quite frankly — styling your hair without heat can look just as gorgeous.
Heat-Free Styling Techniques That Actually Work
Braids for waves: Braid damp hair the night before. Wake up to beautiful, natural-looking waves — no heat required.
Twist-outs: Twist sections of wet hair tightly and let them dry. Untwist, and you have defined curls and volume.
Buns and updos: Whether it’s a tight bun, messy top knot, or French twist, these looks require absolutely no heat and can come out looking very polished.
Roller sets: Foam or flexi-rods on damp hair leave you with uniform curls overnight.
Air drying with product: A great leave-in conditioner and a curl cream can enhance natural texture beautifully when hair is left to air dry.
How Often Should You Heat Style?
| Hair Condition | Recommended Heat Styling Frequency |
|---|---|
| Healthy, strong hair | Up to 3 times per week |
| Normal hair with some dryness | 1–2 times per week |
| Damaged or brittle hair | Once a week or less |
| Bleached or chemically treated | Once every 1–2 weeks |
| Severely damaged hair | Avoid heat until recovered |
If your hair is already showing signs of damage — chronic breakage, extreme dryness, or a tendency to snap easily — cut back on heat styling immediately and focus on recovery.
Hack #6 — Use the Right Brush, Comb, and Tools
Your Styling Tools Are Part of Your Heat Protection Strategy
For most people, heat protection is synonymous with sprays and serums. But the physical tools you use — brushes, combs, and styling instruments — also affect how much damage your hair takes.
The wrong tools can stretch, break, and weaken hair during the styling process. The right ones glide smoothly and reduce stress on each strand.
Invest in Tools That Work With Your Hair, Not Against It
Wide-tooth comb: Always detangle with a wide-tooth comb, not a fine-tooth comb or a paddle brush. Wide teeth move through the hair with less friction and fewer snags.
Boar bristle brush: Boar bristle brushes distribute natural oils from the scalp down the hair shaft. This adds a layer of natural conditioning and shine — especially useful before heat styling.
Ceramic or tourmaline flat irons: These materials emit negative ions that seal the hair cuticle during styling. They also distribute heat more evenly than metal plates, reducing hot spots that cause concentrated damage.
Ionic blow dryers: Ionic technology breaks down water molecules faster, reducing the time your hair is exposed to heat. Less drying time means less overall damage. According to Healthline, using the right tools and techniques is one of the most effective ways to prevent long-term heat damage.
Tools Worth Investing In
| Tool | Why It Protects Your Hair | Price Range |
|---|---|---|
| Wide-tooth comb | Gentle detangling, less breakage | $3–$15 |
| Boar bristle brush | Distributes oils, smooths cuticle | $15–$50 |
| Ceramic/tourmaline flat iron | Even heat, seals cuticle | $40–$200 |
| Ionic blow dryer | Faster drying, less heat exposure | $30–$200 |
| Heat resistant mat | Safe tool storage, prevents accidents | $5–$20 |
All 6 Heat Protection Hacks at a Glance
| # | Hack | Difficulty | Cost | Impact |
|---|---|---|---|---|
| 1 | Use heat protectant correctly | Easy | $8–$30 | Very High |
| 2 | Lower your tool temperature | Easy | Free | Very High |
| 3 | Prep hair before styling | Easy–Medium | $10–$30 | High |
| 4 | Master the one-pass rule | Medium | Free | High |
| 5 | Take heat-free days | Easy | Free | Very High |
| 6 | Use the right tools | Easy–Medium | $3–$200 | High |
How to Tell If Your Hair Is Already Heat Damaged
Sometimes damage is already underway before you realize it. Here’s what to look out for:
Split ends that keep climbing — When splits move up the hair shaft, the damage is spreading.
Hair that snaps instead of stretches — Healthy hair stretches a bit before it breaks. Damaged hair snaps immediately.
Extreme dryness and dullness — Hair feels straw-like even after conditioning.
Inconsistent texture — Some areas feel smooth and silky while others feel rough and porous.
Color that fades too fast — Heat opens the cuticle, allowing color molecules to escape more easily.
Excessive shedding — More hair than normal coming out during washing or brushing.
If you’re noticing several of these signs, it’s time to go into repair mode. Layer these heat protection hacks onto a targeted recovery routine — protein treatments, deep conditioning, trimming split ends, and serious limits on how often you reach for heat.
FAQs — Heat Protection Hacks for Healthy Hair
Q: Do I need heat protectant if I use low heat? Yes. Even at lower temperatures, heat protectant helps to seal in moisture and reduce dryness. It’s a good habit no matter what temperature you use.
Q: Can I use natural oils like coconut oil as a heat protectant? Certain oils — such as coconut oil or argan oil — do provide some heat protection. Coconut oil has a smoke point of approximately 350°F, but it won’t provide the same level of protection as a dedicated heat protectant product. They’re best used as a supplement, not a substitute.
Q: How long should I wait after applying heat protectant before styling? Wait until the product is fully dry — typically 2 to 5 minutes for sprays. Styling over wet protectant locks in moisture and can cause steam damage within the hair shaft.
Q: Is it bad to use a flat iron every day? Daily flat ironing — even with a heat protectant — leads to cumulative damage over time. Most hair experts recommend no more than 3 times a week for healthy hair.
Q: Does heat protectant work on natural/curly hair? Absolutely. Curly and coily hair is actually more prone to dryness, making heat protection even more vital. Opt for a cream-based or oil-based protectant designed specifically for natural hair.
Q: Can heat-damaged hair be fully repaired? Not entirely — hair is not living tissue, so damaged strands cannot be truly “healed.” However, you can vastly improve its appearance and strength with protein treatments, deep conditioning, trimming, and by stopping further damage. New growth will be healthy if you protect it from the start.
Q: What is the best heat protectant ingredient to look for? Look for dimethicone, cyclomethicone, or hydrolyzed proteins such as keratin or silk. These ingredients create a strong protective film around the hair shaft and significantly reduce moisture loss during heat styling.
Before It’s Too Late, Protect Your Hair
Heat styling isn’t going anywhere. And it shouldn’t have to.
The point is not to stop using your favorite tools. The idea is to use them without paying for it with your hair’s health.
These 6 powerful heat protection hacks give you everything you need to do exactly that. Lower the temperature. Use your protectant correctly. Prep your hair well. Master the one-pass rule. Rest your hair regularly. And invest in tools that are intentionally gentle.
Pick one or two of these changes to make this week. Small routine shifts make a world of difference in the way your hair looks and feels over time.
Your hair is worth protecting. And now you have all the right tools to get it done.