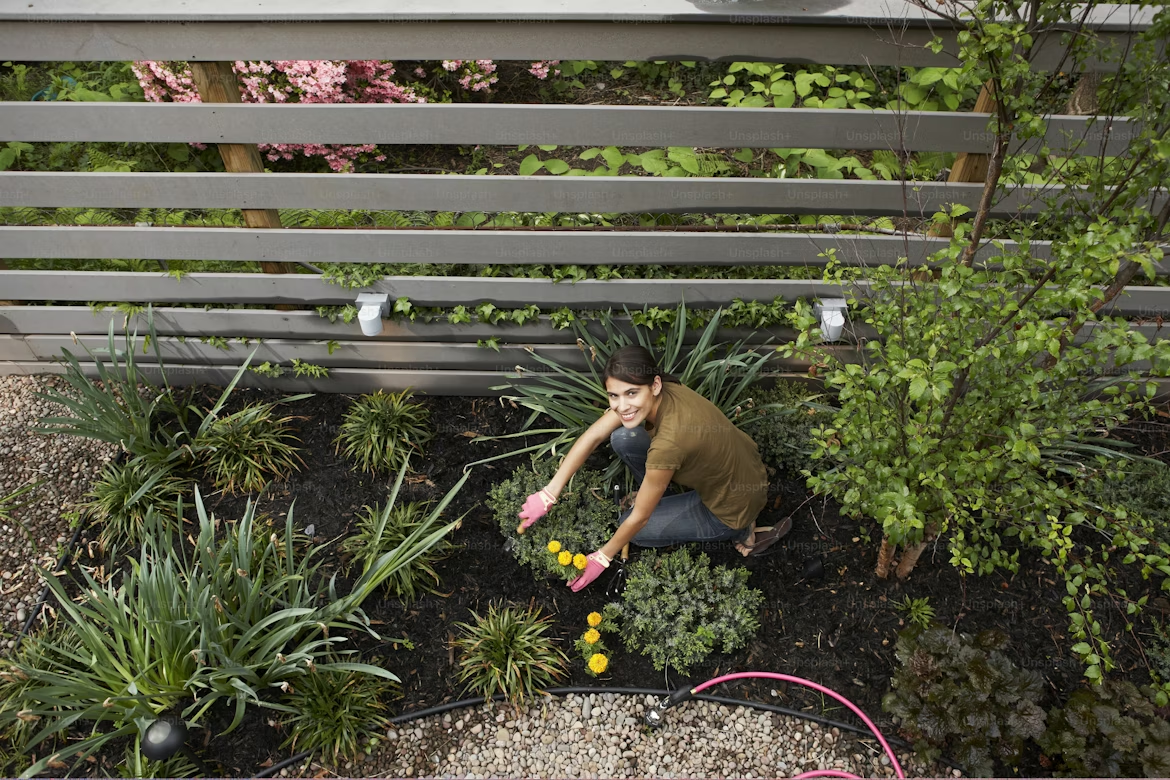
Okay, so last spring I looked at my balcony and genuinely felt embarrassed. It was a sad little concrete slab with two half-dead plants in mismatched pots, a plastic chair with a crack in it, and a watering can I hadn’t touched in weeks. Not exactly the urban garden oasis I’d imagined when I moved in.
But here’s the thing — I was broke. Not “I can’t afford a vacation” broke, but “I’m genuinely calculating whether I can buy both coffee and groceries this week” broke. So spending hundreds on a garden makeover wasn’t happening.
What I could do was get creative. And over about three months, spending money in small chunks whenever I had a little extra, I turned that sad slab into a space I actually want to spend time in. Every single upgrade cost less than I expected, and none of them required any special skills.
Here’s what actually worked.
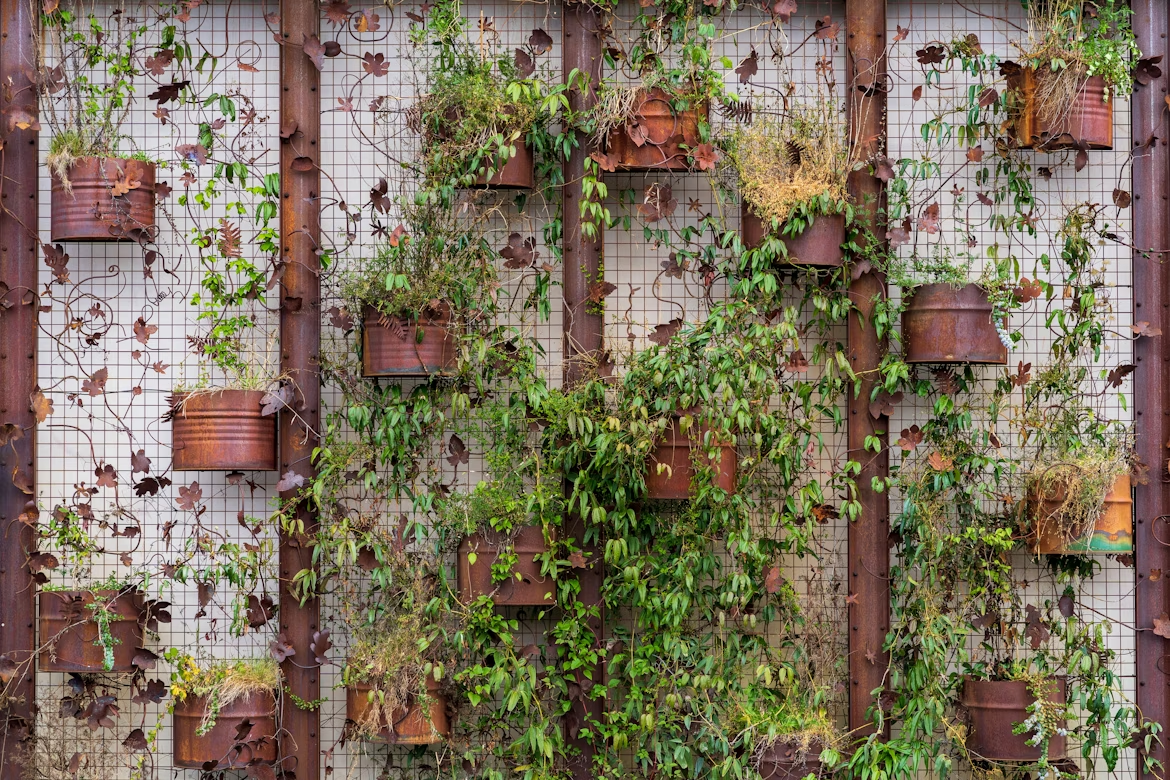
1. Build a Vertical Growing Wall With Repurposed Materials
This was the upgrade that changed everything for me, and I almost didn’t do it because I thought it would be complicated.
My balcony is maybe 6 feet wide. There’s no room to spread out, so the only direction that made sense was up. I’d seen those beautiful vertical garden panels online — the ones that cost $150 and look like living art installations. Obviously not in my budget. But the concept? Totally stealable.
I started collecting wooden pallets. One came from behind a local furniture shop (I asked — they were happy to get rid of it). Another I found listed free on Facebook Marketplace. I sanded them down lightly, nothing fancy, just enough to get rid of splinters, and I leaned them against the wall.
Then I lined the gaps between the slats with landscape fabric (about $4 for a small roll), stapled it in with a cheap staple gun, filled the pockets with a lightweight potting mix, and planted herbs directly into them. Basil, mint, parsley. All from seed packets that cost less than a dollar each.
Total cost: roughly $8, not counting the pallets which were free.
The mistakes I made early on: I used regular garden soil the first time and it was too heavy — the pockets sagged and water didn’t drain well. Switching to a lighter mix with some perlite in it made a massive difference. Also, I watered too much at the start. Vertical planters dry out differently than pots, so you really need to check the actual soil, not just water on a schedule.
If you want to go a step further without spending much more, you can attach small PVC pipe sections horizontally across a wall or fence, cap the ends, drill drainage holes, fill with soil, and grow strawberries or lettuce. I’ve seen this done for under $15 total and it looks genuinely impressive.
For more ideas on working vertically in a tight space, this guide on 12 vertical gardens to smarten up any space has some really solid setups worth looking at.
2. Upgrade Your Container Game (Without Buying New Pots)
I used to think good containers meant expensive containers. I was wrong.
The pots I bought when I first started gardening were these basic plastic things that cracked within one season. Then I replaced them with slightly nicer ones that were slightly less crackable. It was a cycle of mild disappointment and wasted money.
Then I started looking around my apartment for things that could become containers. An old colander with holes already in it? Perfect drainage. A wooden wine crate? Line it with a bin bag, poke a few drainage holes, fill with soil. A pair of rubber boots I’d stopped wearing? Those now grow trailing nasturtiums and they look genuinely charming.
The rule I follow now is simple: if it can hold soil and drain water, it can be a planter.
Here’s a rough comparison of what I used versus what I could have bought:
| Container Type | Bought New (Avg Cost) | DIY/Repurposed Cost |
|---|---|---|
| Terracotta pot (medium) | $12–$18 | Free (thrift store find) |
| Wooden planter box | $35–$60 | $5–$8 (wine crate + liner) |
| Hanging basket | $10–$15 | $3 (colander + chain) |
| Raised bed (small) | $50–$80 | $10–$15 (pallet wood) |
| Window box | $15–$25 | Free (repurposed drawer) |
The only thing I’d say to actually spend a little money on is good drainage material. A bag of perlite or coarse sand costs a few dollars and it genuinely extends the life of whatever you’re growing. Without it, roots sit in wet soil and rot. I lost a whole pot of basil to this before I figured it out.
One more thing that made a huge difference: grouping containers together. I used to spread my pots around the balcony and everything looked scattered. When I pushed them into clusters — tallest at the back, shorter ones in front — it suddenly looked intentional and lush, not random. Same plants, same pots, completely different vibe.
3. Fix Your Soil Without Spending a Fortune
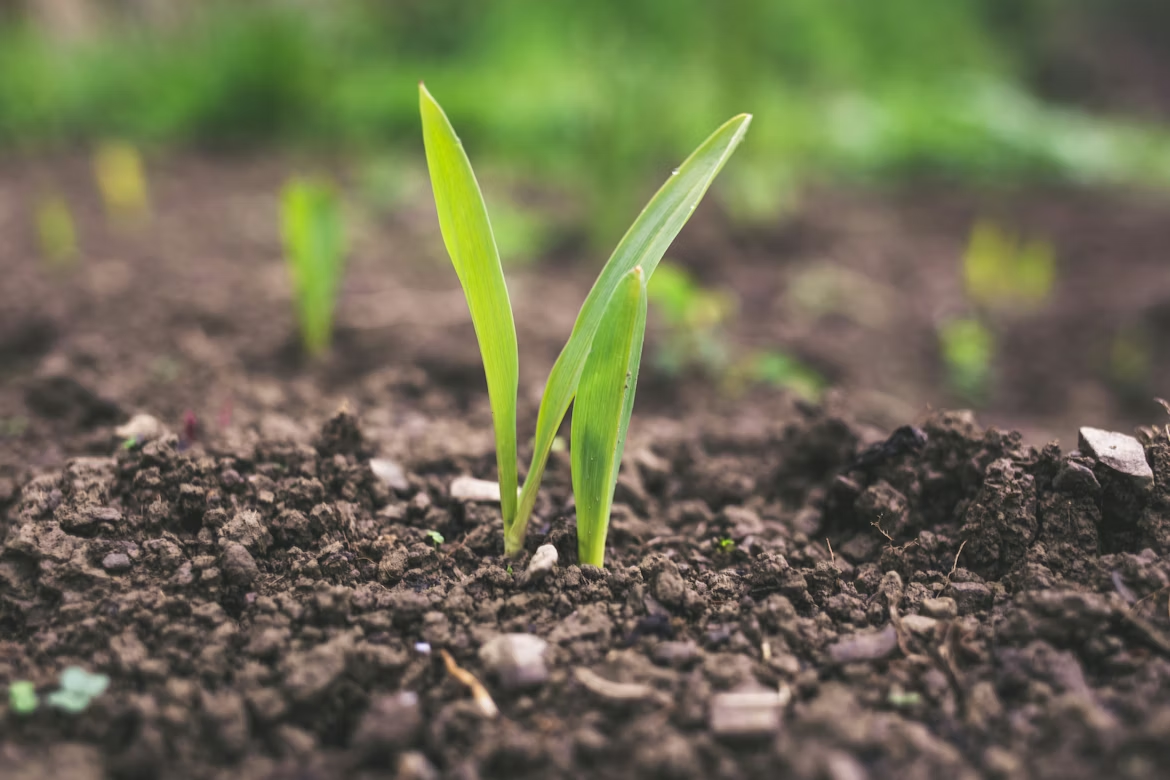
This is the upgrade that nobody talks about, but it’s probably the one that had the biggest impact on my actual plant growth.
For the longest time I just used whatever “multipurpose compost” was cheapest at the garden center. And everything grew… fine. Not great. Fine. Plants were alive, but they weren’t thriving. Leaves were a bit pale, growth was slow, and I kept adding fertilizer trying to figure out what was wrong.
Turns out the soil itself was the problem. Cheap compost often has poor drainage, can become compacted quickly in containers, and doesn’t hold nutrients well. Once I started building my own mix, everything changed.
My current mix for container gardening is roughly:
- 50% good quality potting compost (mid-range, not the absolute cheapest)
- 30% perlite or coarse grit (for drainage and air pockets)
- 20% worm castings or homemade compost (for nutrients)
The worm castings sound fancy but you can get a small bag for a few dollars, and a little goes a long way. Or if you’ve been composting kitchen scraps — even just in a small bin on the balcony — that’s free.
I also started top-dressing my pots with a thin layer of compost once a month instead of buying expensive liquid fertilizers every few weeks. It’s slower-release and the plants seem to prefer it.
For a deeper dive into what actually goes into a great soil mix, this breakdown of 8 ultimate soil mix tips every gardener needs to know is honestly one of the more useful things I’ve read on the subject.
One mistake I made: I tried to stretch a bag of expensive compost by mixing in a lot of garden soil from outside. Don’t do this in containers. Garden soil compacts badly, can bring in pests, and doesn’t drain the way container plants need. Keep your container mix separate.
4. Set Up a Simple, Low-Cost Watering System That Actually Works
This upgrade is less glamorous than the others, but it saved more plants than anything else I’ve done.
I work irregular hours. Some weeks I’m home all the time, other weeks I’m barely there. My plants paid the price for my inconsistency — I’d go a few days without watering, panic, water everything heavily, and then repeat the cycle. Half my losses came from this.
The fix was surprisingly cheap. I set up a basic self-watering system using two things: terracotta watering spikes and large plastic bottles.
You can buy a set of terracotta spikes for a few dollars. You screw a plastic bottle onto the spike, fill the bottle with water, push the spike into the soil, and it slowly releases water directly to the roots over several days. It’s not automated irrigation — it’s just gravity and porous clay — but it works remarkably well for small containers.
For my herbs, which need more consistent moisture, I made mini self-watering containers. I took two plastic bottles, cut one in half, inverted the top half into the bottom half (with a wick of cotton string threaded through the cap), filled the top with soil and a seedling, and filled the reservoir below with water. The plant wicks up exactly what it needs.
Total cost for both systems: under $5.
Here’s a quick breakdown of low-budget watering options:
| Method | Cost | Best For | Duration Between Refills |
|---|---|---|---|
| Terracotta spikes + bottles | $3–$5 | Medium pots, herbs | 2–4 days |
| DIY wick system (bottles) | Free | Small seedlings, herbs | 3–5 days |
| Drip tray reservoirs | Free–$2 | Any container | 1–2 days |
| Basic timer + hose | $15–$20 | Multiple containers | Fully automated |
If you want to step it up a bit without breaking the bank, basic battery-powered drip timers are available for around $15–$20. I eventually got one for my tomatoes during a two-week trip and came back to them actually being alive, which felt like a miracle.
The other thing that helped was just learning when not to water. More plants die from overwatering than underwatering. I started doing the finger test — push your finger an inch into the soil, and only water if it’s dry at that depth. Sounds basic, but I ignored this for months before it actually clicked.
If you’re figuring out a watering routine that actually sticks, these 8 plant watering rules every owner should follow are worth reading — they cleared up a lot of confusion for me early on.
Common Mistakes I Made (So You Don’t Have To)
Buying too many plants at once. My first balcony setup had twelve different plant species crammed together. They competed for light, I had no idea what each one needed, and half died within a month. Start with three or four plants you actually want to eat or enjoy looking at.
Ignoring sunlight before buying anything. I bought a pepper plant before checking how much sun my balcony actually gets. Turns out it gets about four hours of direct sun in summer — not enough for peppers. Know your light situation first. Stand on your balcony at different times of day and actually observe where the sun hits and for how long.
Thinking expensive = better. The most expensive thing I bought in my early gardening days was a fancy self-watering planter that cost $40. It cracked after one winter. Meanwhile, a $2 colander I found at a charity shop is still going strong.
Not labeling anything. I planted six different types of seedlings once without labeling a single one. They all looked identical for weeks. I genuinely could not tell my parsley from my coriander until they were big enough to smell. Just use popsicle sticks and a marker.
What the Whole Thing Cost Me
I kept rough track of what I spent across all four upgrades:
| Upgrade | Approximate Spend |
|---|---|
| Vertical wall (pallets, staples, fabric, seeds) | $12 |
| Container improvements (liners, drainage material) | $8 |
| Soil mix overhaul (perlite, worm castings) | $14 |
| Watering system (spikes, DIY) | $5 |
| Total | ~$39 |
That’s it. Under $40 for a complete transformation. And this wasn’t a “looks okay from a distance” situation — this is a space I genuinely use and enjoy.
The thing is, once the basics are in place, maintaining it is cheap. Seeds cost almost nothing. Kitchen scraps become compost. Rainwater (if you catch it) is free. The upfront investment is small and the ongoing cost gets lower over time.
If you’re just getting started and want to avoid the classic early mistakes, have a look at 3 mistakes beginners make and what to do instead — it covers some of the same ground I stumbled through, explained better than I could from the beginning.