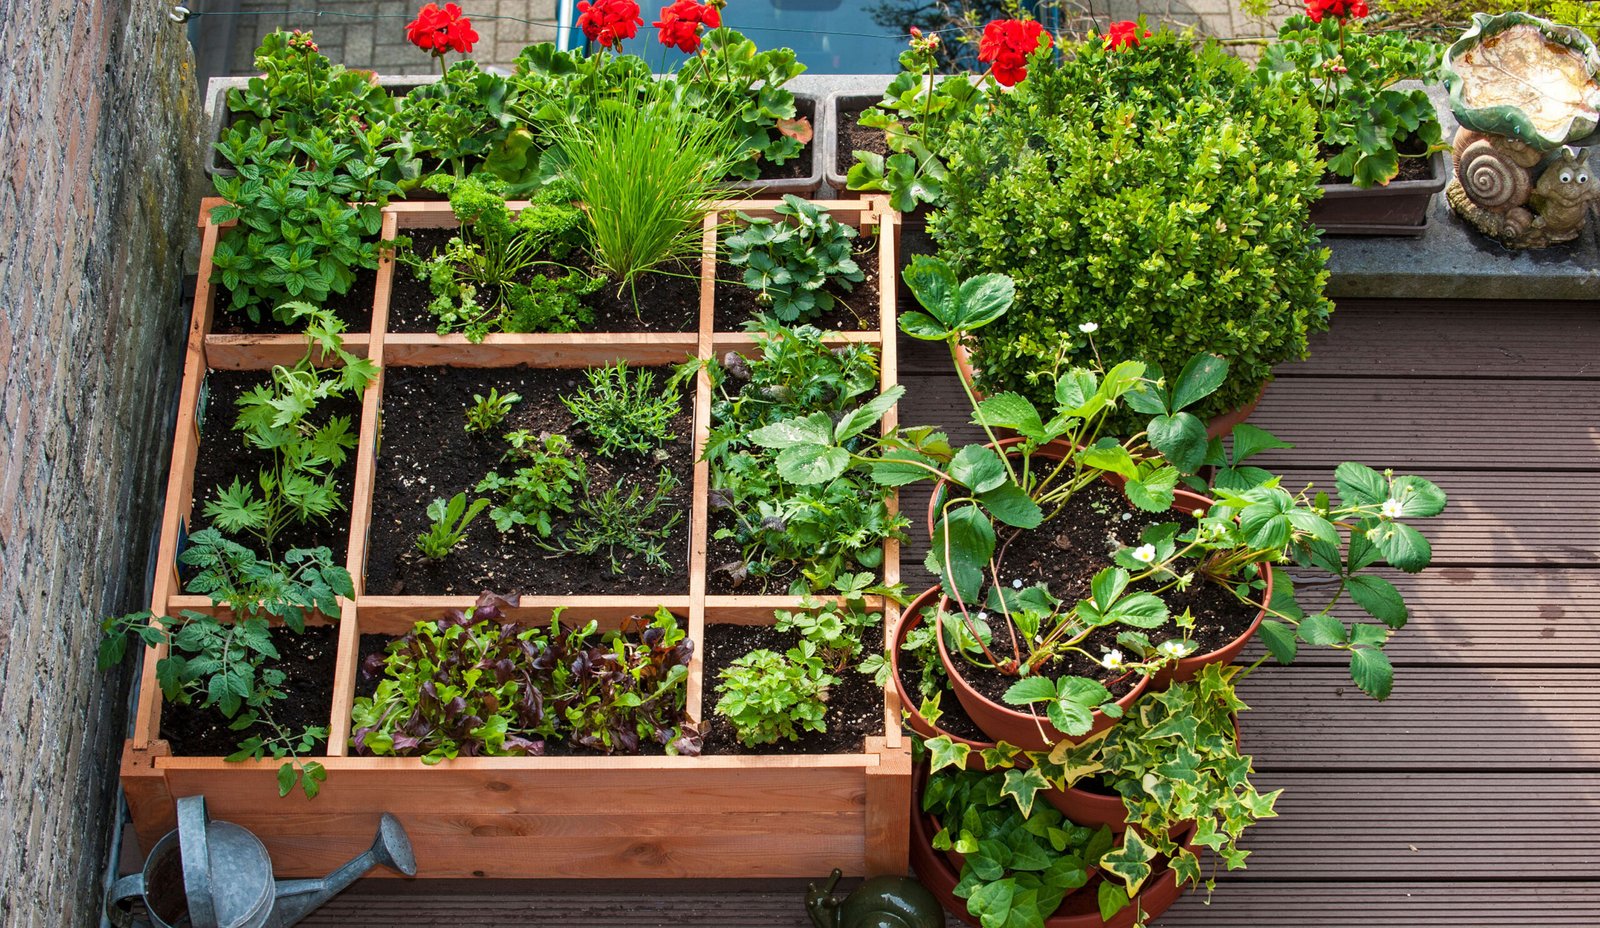
When I first decided to turn my tiny balcony into a proper garden space, I stood out there with a single pot of basil and thought — okay, where do I even begin?
The balcony was maybe 6 feet wide. Concrete floor. One railing. No shade. I had big dreams and zero plan.
Fast forward through a lot of trial, error, a few dead plants, and one near-disaster involving a shelf that wasn’t properly secured — I finally figured out what actually makes a balcony setup work. Not just look good in pictures, but genuinely function as a space where plants thrive and you actually enjoy spending time.
Here are the 7 essentials that made the biggest difference for me, and honestly, I wish someone had just handed me this list on day one.
1. A Proper Drainage System (Not an Afterthought)
This was my first and most expensive lesson.
I bought beautiful ceramic pots, arranged them perfectly, and within two weeks had a neighbor knocking on my door because water was dripping down to their balcony below. Embarrassing? Very. Preventable? Completely.
Drainage on a balcony isn’t just about your plants surviving — it’s about managing where water actually goes once it exits the pot. Unlike a garden bed where the ground absorbs everything, a balcony is a sealed surface. Every drop of water has to go somewhere.
What a solid drainage setup looks like:
- Pots with drainage holes — non-negotiable. If you love a decorative pot without holes, use it as a sleeve over a plain nursery pot that does have holes.
- Drip trays under every pot — catch the runoff before it becomes your neighbor’s problem.
- Slightly elevated pots — pot feet or small risers let air circulate under the pot and stop trays from becoming stagnant water pools.
- A floor drain plan — if your balcony has a floor drain, make sure it stays clear. If it doesn’t, you need to think about where water flows when you do a big watering session.
Empty your drip trays every 2–3 days. Sitting water breeds mosquitoes and also encourages root rot if the pot is sitting in it constantly.
One thing that genuinely helped me was switching to self-watering planters for my herbs. They have a built-in reservoir at the bottom that the plant draws from, which means less surface watering and less runoff overall. Brands like Lechuza make solid ones, though there are plenty of affordable versions on Amazon that work just as well.
2. The Right Shelving or Plant Stand System
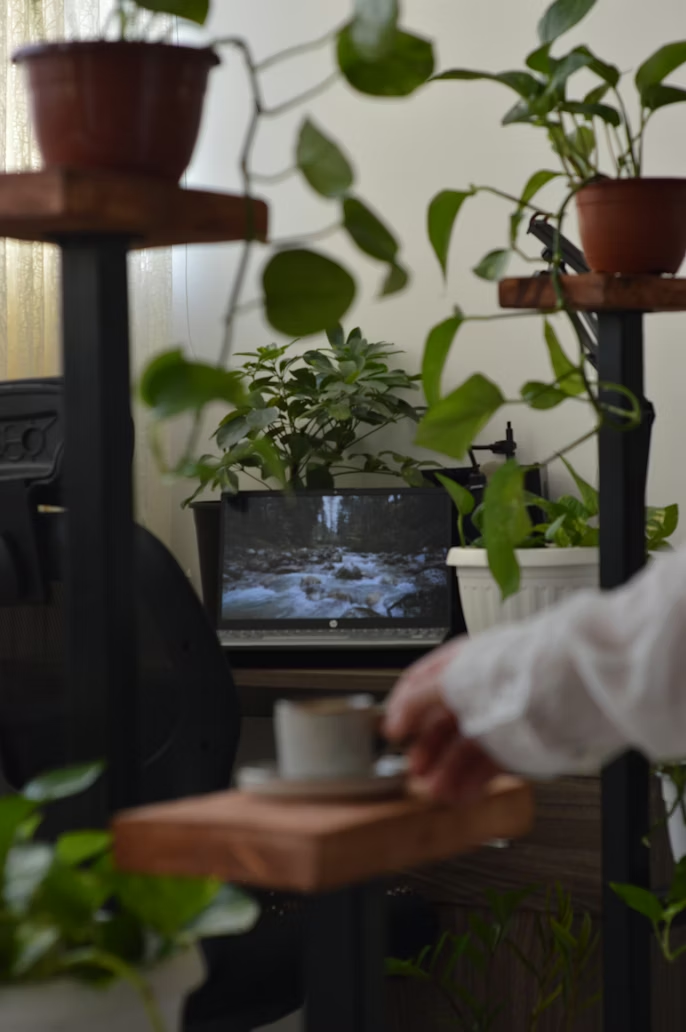
Floor space on a balcony is precious. If you’re placing every pot directly on the ground, you’re using maybe 20% of the vertical space available to you.
This was the single change that transformed my setup the most. Going vertical — even just adding a two-tier plant stand — immediately doubled how many plants I could keep out there.
But not all shelving is created equal for outdoor use.
What to look for:
| Feature | Why It Matters |
|---|---|
| Weather-resistant material | Wood rots, cheap metal rusts — look for powder-coated steel or teak |
| Open grid design | Solid shelves trap water and block light to lower plants |
| Adjustable height | Different pots need different clearance |
| Wall-mountable option | Frees up floor space entirely for seating or movement |
| Weight capacity label | Wet soil is heavy — a full 10-inch pot can weigh 8–10 lbs |
I made the mistake of buying a cute bamboo shelf from a home store. It looked amazing for about three months. By month four, the joints were swelling and warping. After one rainy season, it was genuinely unsafe. I switched to a powder-coated steel tiered stand and it’s been out there through two summers without a single issue.
For wall-mounted options, make sure you’re drilling into solid wall material — not just the railing or a surface that can’t take weight. If you’re renting, adhesive wall hooks rated for outdoor use can work for lighter hanging planters, but I’d be cautious with anything over a few pounds.
If you’re working with a very tight space, 12 vertical gardens to smarten up any space has some genuinely creative ideas worth browsing through.
3. Quality Potting Mix — Not Garden Soil
I know I keep coming back to this, but it’s genuinely one of the most common mistakes people make and it quietly kills plants for months before anyone figures out why.
Garden soil does not belong in containers. It compacts under the weight of repeated watering, suffocates roots, and stays waterlogged far longer than it should in a confined pot. I used it in my first season because it seemed logical — soil is soil, right? Wrong. My pepper plants barely reached knee height. Everything looked sad.
A good balcony potting mix should feel light and slightly fluffy. It should drain quickly but still hold some moisture. If you squeeze a handful and it clumps together and stays that way, it’s too dense.
My go-to mix for most balcony plants:
- 60% quality potting mix (something like Miracle-Gro or Fox Farm if available in your area)
- 20% perlite (improves drainage and prevents compaction)
- 20% compost or worm castings (slow-release nutrients)
For succulents and cacti, I bump the perlite up to 40%. For water-loving plants like lettuce and spinach, I drop it to 10% and add a bit more compost.
Refresh your potting mix every season. After one growing cycle, the structure breaks down and nutrient content drops significantly. You don’t have to throw it all out — mix it with fresh material, add some slow-release fertilizer granules, and you’re good to go.
4. A Reliable Watering Setup
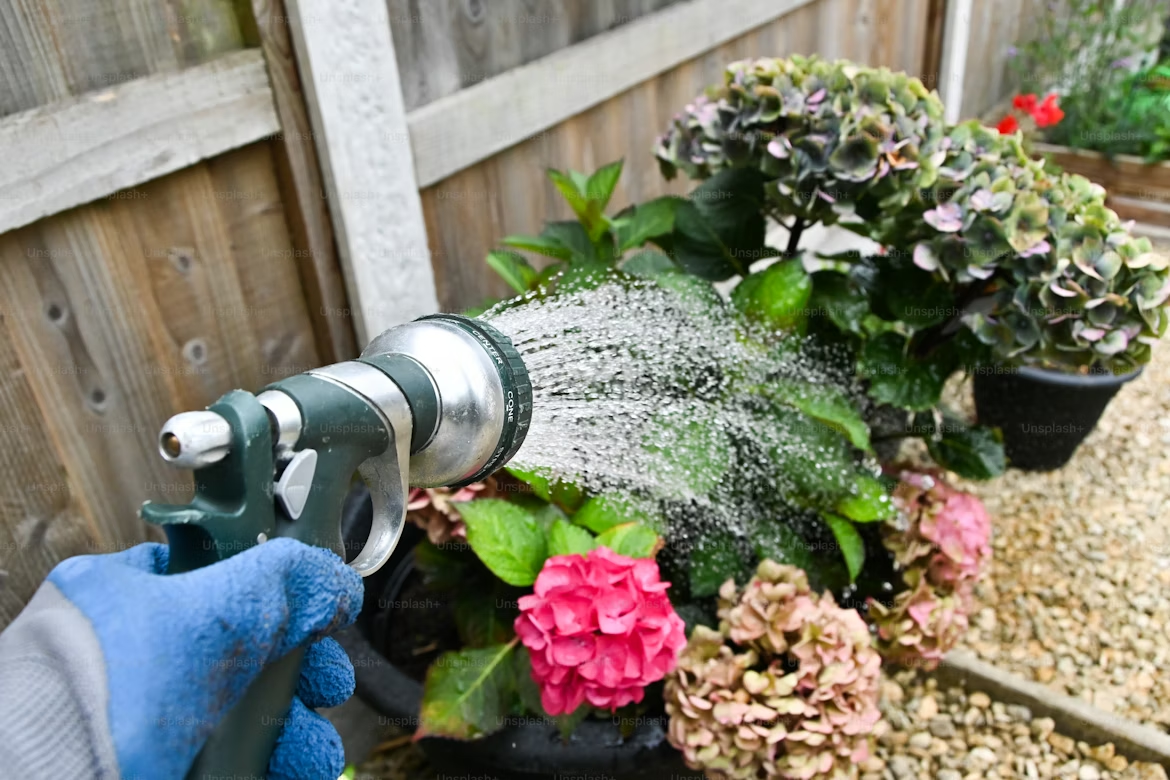
Watering sounds simple. It’s not.
The challenge on a balcony is that conditions change fast. On a hot, windy summer day, a small pot can dry out completely in 6–8 hours. On a cool, overcast day, that same pot might stay moist for two days. If you’re watering on a fixed schedule rather than checking actual soil moisture, you’re going to get it wrong regularly.
Here’s what I actually use and recommend:
For manual watering:
- A long-neck watering can — the long spout lets you water at soil level without splashing leaves, which reduces fungal issues
- A moisture meter — I cannot overstate how useful this is. You push the probe into the soil and it tells you dry/moist/wet. It removes all the guesswork and costs about $8–10.
For when you travel or just want less daily work:
- Drip irrigation kits — brands like Raindrip or Claber make balcony-specific kits that connect to an outdoor tap with a timer. You set it, and it waters on a schedule automatically.
- Self-watering pots — as mentioned above, genuinely great for herbs and smaller plants
For larger setups:
- A battery-powered timer on your hose bib. Under $20, and it means your plants don’t die every time you go away for a long weekend.
The key habit to build: before you water, check. Just poke your finger 2 inches into the soil. If it’s still moist, leave it. If it’s dry, water thoroughly — meaning until water runs out the drainage hole, not just a surface splash.
For a more detailed breakdown, this guide on the 8 plant watering rules every owner should follow is one I keep going back to.
5. Sun and Wind Management Tools
This is the essential that most beginners completely skip — and then spend a whole season confused about why their plants aren’t thriving.
Every balcony has its own microclimate. The direction it faces, whether it’s on a high floor with constant wind, whether it gets afternoon sun or morning sun — all of these things dramatically affect what you can grow and how you need to manage conditions.
Sun:
Before you buy a single plant, spend a couple of days tracking sunlight on your balcony. Note when direct sun hits and when it moves off. Count the hours.
- 6+ hours of direct sun = full sun crops (tomatoes, peppers, cucumbers)
- 3–6 hours = partial shade crops (herbs, leafy greens, flowers)
- Under 3 hours = shade-tolerant plants only (ferns, some herbs, impatiens)
If your balcony gets harsh afternoon sun in summer, a shade cloth (30–40% shade rating) can protect plants from heat stress and sunburn. These are inexpensive, easy to hang from the railing or overhead, and make a huge difference for leafy vegetables in peak summer.
Wind:
High-floor balconies can be brutal. Wind dries out soil rapidly, breaks stems, and physically stresses plants. A simple windbreak — either a railing cover, trellis with climbing plants, or even a row of taller, sturdier plants on the windward side — can protect everything behind it.
Bamboo screening or outdoor privacy panels work great for this dual purpose — they block wind and add visual privacy at the same time.
6. A Fertilizing System That Actually Fits Your Life
The number one fertilizing mistake: starting strong in spring and then completely forgetting about it by June.
Plants in pots need regular feeding because they can’t extend their roots into new soil to find nutrients. Whatever was in the potting mix when you started is basically all they have access to — and that depletes within 4–6 weeks.
The key is making fertilizing easy enough that it actually happens consistently.
Two systems that work well:
Option A — Slow-release granules + occasional liquid boost Work slow-release fertilizer granules into the top inch of soil at the start of the season. These release nutrients gradually over 3–4 months with every watering. Supplement with liquid feed every 3–4 weeks when plants are actively growing or fruiting. This is lower effort and hard to over-do.
Option B — Regular liquid feeding schedule Every 7–14 days, mix liquid fertilizer into your watering can. This gives you more control and allows you to adjust based on growth stage (high nitrogen for leafy growth, high potassium when fruiting). Requires more discipline but gives faster results.
Fertilizer timing by growth stage:
| Growth Stage | Best Fertilizer Type | Frequency |
|---|---|---|
| Early growth (seedling) | Half-strength balanced liquid | Every 2 weeks |
| Vegetative (lots of leaves) | Balanced NPK (e.g., 10-10-10) | Weekly |
| Flowering | Low nitrogen, higher P and K | Weekly |
| Fruiting | High potassium (e.g., tomato feed) | Weekly |
| End of season | None needed | — |
If you want to go organic, fish emulsion and seaweed extract are both excellent options. They smell unpleasant for a day or two but are gentle on plants and safe around kids and pets.
For more on getting the most growth out of your balcony plants, 6 rapid growth enhancers that will give your plants an unprecedented boost covers some approaches I hadn’t tried before that genuinely worked.
7. A Simple Pest Monitoring Routine
I used to think pest control was something you dealt with when you saw a problem. Now I think of it as something you do to prevent the problem from ever becoming serious in the first place.
The reality of balcony gardening is that pests find your plants faster than you’d expect. Aphids, spider mites, fungus gnats, whiteflies — they can show up within weeks of planting, especially in warm weather. And because pots are a contained environment, once pests establish themselves, they multiply quickly.
The routine that keeps things manageable:
Every time you water — which means every time you’re out there anyway — flip a few leaves and look at the undersides. That’s where most pests start. Check where stems meet the soil for signs of fungus gnats or mealybugs. Look for anything sticky on the leaves or tiny webbing between stems.
This takes 2 minutes. But it means you catch problems when they’re still one or two bugs rather than a full infestation.
My standard prevention spray:
Mix 1 teaspoon of neem oil with 2–3 drops of dish soap in 1 liter of water. Shake well and spray on leaves — top and bottom — every 10–14 days. Neem oil works as a preventative and a mild treatment for early-stage pest problems. It’s safe for edible plants as long as you wash produce before eating.
Quick reference for common pests:
| Pest | First Sign | Best Response |
|---|---|---|
| Aphids | Sticky leaves, curling new growth | Blast with water, neem oil spray |
| Spider Mites | Fine webbing, speckled leaves | Increase humidity, neem oil |
| Fungus Gnats | Tiny flies hovering over soil | Dry out soil more, BTi drops |
| Whiteflies | White cloud when plant is disturbed | Yellow sticky traps |
| Mealybugs | White fluffy clusters at stem joints | Rubbing alcohol on cotton swab |
Yellow sticky traps are worth hanging in your setup year-round. They catch flying pests early and also give you a visual indicator of what’s around — if you suddenly see a lot of whiteflies stuck to the trap, you know to investigate further before they reach your plants.
Putting It All Together
Setting up a balcony that actually works for plants isn’t about spending a lot of money or having the perfect space. I’ve seen thriving balcony gardens on 4-foot-wide apartment ledges and struggling ones on full rooftop terraces. The difference is almost always in the fundamentals — drainage, soil, sun awareness, consistent feeding and watering, and catching problems early.
Here’s a quick setup checklist you can actually use:
| Essential | Done? | Notes |
|---|---|---|
| All pots have drainage holes | ☐ | Add drip trays too |
| Shelving is weather-resistant and secure | ☐ | Check weight ratings |
| Potting mix is light and well-draining | ☐ | Not garden soil |
| Watering method matches your schedule | ☐ | Manual or automated |
| Sun hours tracked and plants matched | ☐ | Count actual hours |
| Fertilizing schedule is set up | ☐ | Granules or liquid feed |
| Pest prevention routine started | ☐ | Neem spray + leaf checks |
Start with these seven things and your balcony setup will be ahead of where most people are even after a full season of trial and error.