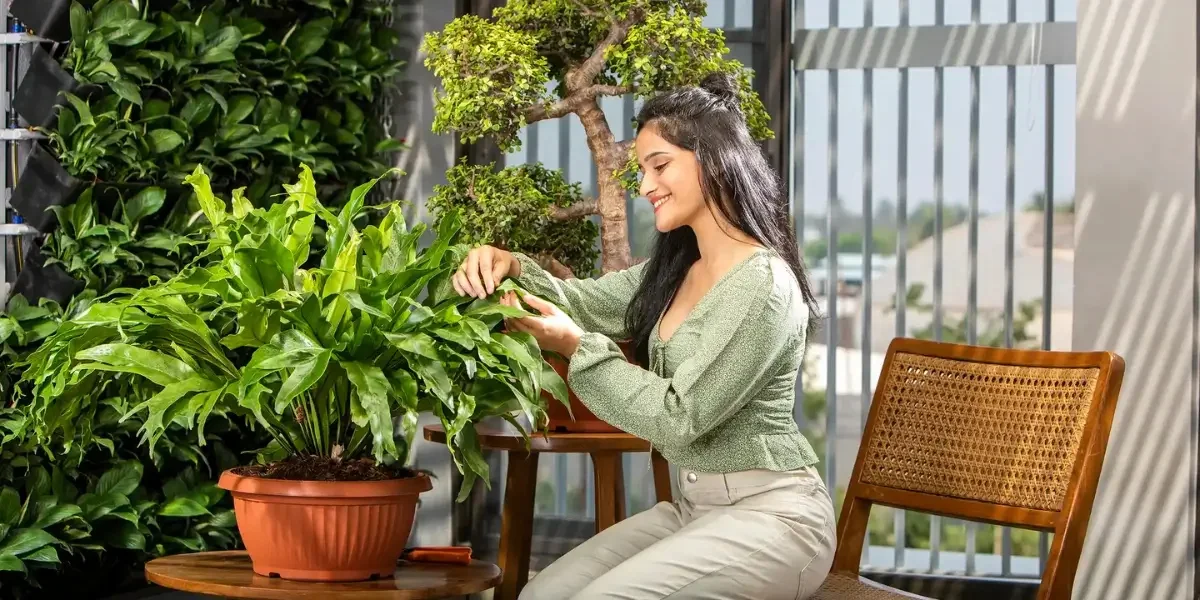
I still remember the first time I looked at my sad little balcony and thought, “There’s no way I can grow anything here.” It was maybe 6 feet wide, constantly windy, and I had exactly zero gardening experience. My first attempt involved three pots, some random soil from a hardware store, and tomato seedlings that died within two weeks. Classic beginner disaster.
But here’s the thing — after a lot of trial, error, and honestly some embarrassing moments (like overwatering mint so badly it turned yellow and mushy), I figured out that balcony gardening isn’t about having a lot of space or money. It’s about being a little clever with what you have.
These six tips are the ones that genuinely changed how I use my balcony. They didn’t come from a book — they came from messing things up and slowly getting it right.
1. Go Vertical Before You Go Wide
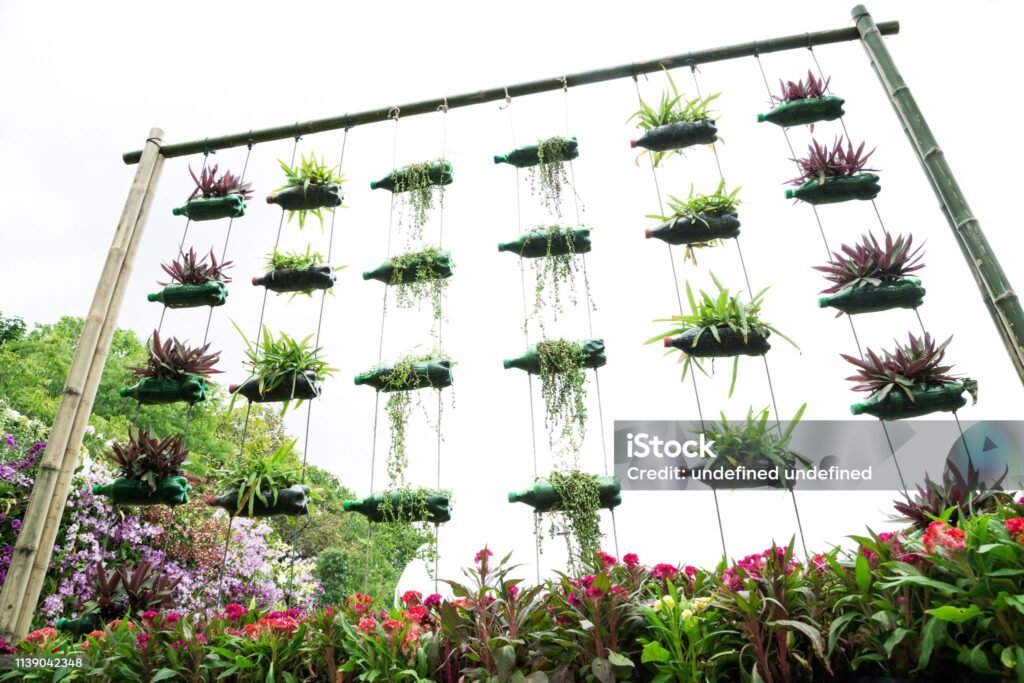
This was the single biggest shift for me. I was thinking about my balcony like a floor plan, trying to fit as many pots as possible on the ground. Then a neighbor showed me her balcony — same size as mine — and she had three times the greenery. The difference? Walls.
She had a simple pegboard mounted on one side with hooks and small pots hanging off it, a tiered shelf on another wall, and a rail planter running along the railing. That’s three growing zones I wasn’t using at all.
You don’t need anything fancy. Some ideas that actually work:
- Rail planters — clip-on ones that hook over your balcony railing. Cheap, effective, and they don’t take up any floor space.
- Wall-mounted pocket planters — fabric or plastic ones with multiple pockets. Great for herbs like basil, parsley, and chives.
- Tiered plant stands — a three-tier bamboo stand costs very little and gives you triple the surface area.
- Tension rod shelves — if you have a recessed balcony wall, you can use tension rods to hang lightweight pots between them.
The moment you stop thinking “floor space” and start thinking “wall space + rail space + overhead space,” your balcony becomes a completely different place.
| Space Type | What Works Best |
|---|---|
| Floor | Large containers, dwarf fruit trees, grow bags |
| Railing | Rail planters, small flowering pots |
| Wall | Pocket planters, pegboards, wall-mounted shelves |
| Overhead | Hanging baskets, trailing plants |
| Corner | Tiered stands, tall narrow shelves |
2. Stop Buying Expensive Potting Mix — Make It Smarter
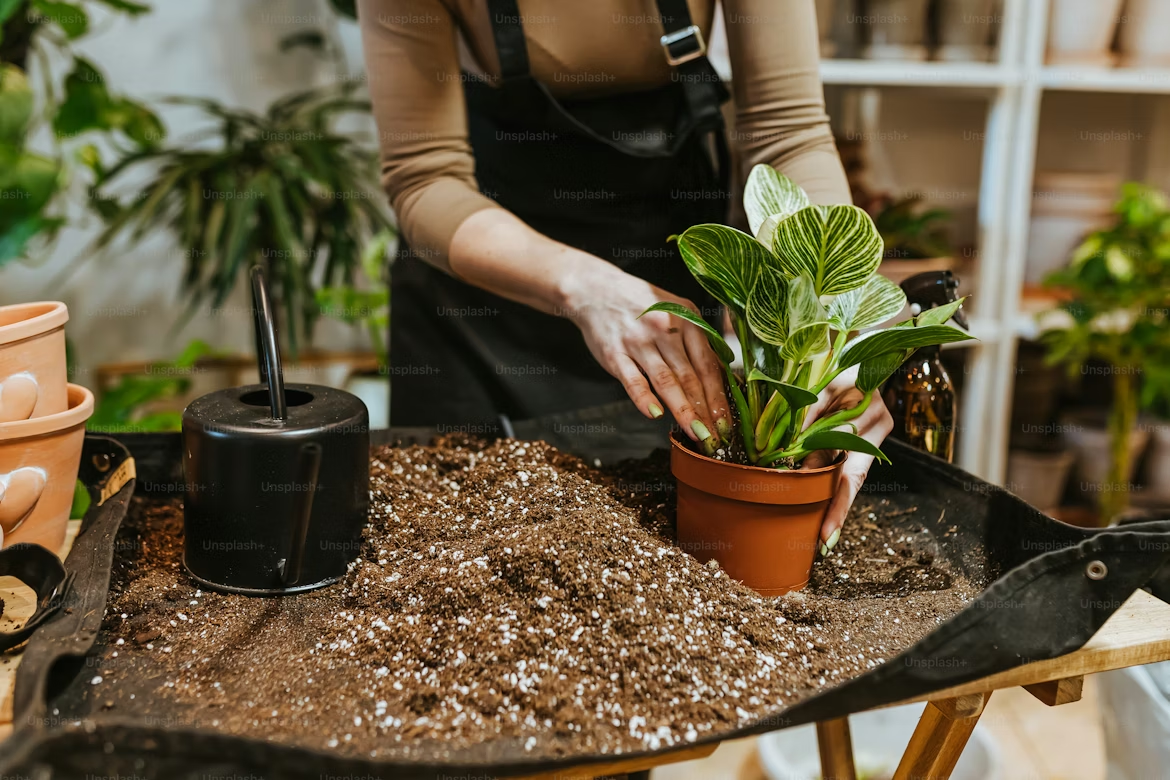
I used to buy bags of ready-made potting soil and honestly, I was wasting money. Some of those bags are mostly filler — not actually great for container plants. And balcony plants have specific needs that generic garden soil doesn’t meet: good drainage, lightweight (your balcony has a weight limit), and enough nutrients to last.
Here’s a simple mix I’ve been using that costs a fraction of the fancy stuff:
- Coco peat (coconut coir) — lightweight, holds moisture well, and cheap. Available at most nurseries.
- Perlite or coarse sand — adds drainage so roots don’t rot. About 20-30% of the mix.
- Compost — either homemade or bagged. This is your nutrition source.
- A handful of neem cake — acts as a slow-release fertilizer and keeps pests away.
Mix roughly: 50% coco peat + 20% perlite + 30% compost. That’s it. This costs significantly less per pot than pre-made mixes and works better for most herbs and vegetables.
And if you want to go one step further, check out these 8 ultimate soil mix tips every gardener needs to know — some of the insights there honestly changed how I think about potting mixes entirely.
3. Group Plants by Water Needs (Not Just by Looks)
This one sounds basic but I learned it the hard way. I once put mint, rosemary, and succulents all together in a cute little cluster because they looked nice together. Within a month, the rosemary and succulents were struggling because they kept getting watered at the mint’s schedule. Mint is thirsty. Rosemary hates sitting in wet soil.
Grouping plants by water needs saves you time, money (healthier plants = fewer replacements), and space because you can create efficient watering zones.
Thirsty plants (water every 1-2 days in summer): mint, basil, lettuce, spinach, tomatoes Moderate drinkers (every 2-3 days): peppers, marigolds, geraniums, parsley Drought-tolerant (every 5-7 days): rosemary, thyme, succulents, aloe vera, lavender
When you cluster thirsty plants together and drought-tolerant ones separately, you water smarter. You also avoid that frustrating cycle of over- or under-watering because you’re treating every pot differently.
And speaking of smart plant arrangements — these 11 clever plant pairings that make your garden flourish go into companion planting in a way that genuinely helps, especially in tight spaces.
4. Grow What You Actually Eat (Not What Looks Cool)
Okay, I’ll be honest — I grew ornamental kale once. It looked incredible. Purple and frilly and almost artistic. But I never ate it because I don’t actually like kale. Meanwhile I was buying fresh basil every week from the grocery store, paying a premium for something that grows like a weed in a pot.
The fastest way to save money with balcony gardening is to grow the herbs and vegetables you already buy. Think about your last grocery run. What fresh things did you pick up?
For most people it’s something like:
- Mint (for tea or drinks)
- Coriander / cilantro
- Green chilies
- Tomatoes (cherry varieties work brilliantly on balconies)
- Spring onions / green onions
- Lettuce or spinach
These are also among the easiest things to grow. Spring onions can literally be regrown from the roots of ones you’ve already bought. Just stick the white root end in a bit of soil and water it — they regrow within a week. Free vegetables.
The calculation changes fast when you realize a single basil plant costs less than one bunch from the store and keeps producing for months. One chili plant can give you more chilies than you can use. Growing what you eat isn’t just economical — it actually feels satisfying in a way that purely decorative plants don’t.
5. Use the Right Container Size (Most People Go Too Small)
This was a constant mistake of mine early on. I’d buy cute little pots because they looked nice and fit neatly on my balcony. Then I’d try to grow tomatoes in them and wonder why the plants were stunted and barely producing.
The root system determines everything. If the pot is too small, roots get cramped, the plant gets stressed, it becomes more susceptible to pests and disease, and it produces less. Small pots also dry out faster, which means more frequent watering and more stress on the plant.
Here’s a rough guide that actually helped me:
| Plant Type | Minimum Pot Size |
|---|---|
| Herbs (basil, mint, parsley) | 6–8 inches / 2-3 liters |
| Leafy greens (spinach, lettuce) | 8–10 inches / 4-5 liters |
| Chilies / peppers | 10–12 inches / 5-8 liters |
| Cherry tomatoes | 12–14 inches / 10-15 liters |
| Dwarf fruit trees | 18–24 inches / 20+ liters |
The trick to saving money here? Grow bags. Fabric grow bags are significantly cheaper than plastic or ceramic pots of the same size, they’re lightweight (important for balcony weight limits), they improve drainage, and they actually air-prune roots which leads to healthier plants. A 10-liter fabric grow bag often costs less than a fraction of a similarly-sized ceramic pot.
I shifted most of my growing to grow bags two seasons ago and haven’t looked back. They’re also foldable when not in use — no storage nightmare.
6. Set Up a Basic Self-Watering System Before Summer Hits
The single most money-wasting thing in balcony gardening? Losing plants because you went on a trip for four days or just had a crazy week at work and forgot to water. I’ve killed plants that took months to grow because life got busy. That’s both emotionally and financially frustrating.
You don’t need an expensive drip irrigation system. Here are some genuinely low-cost options:
DIY bottle drip system: Take a plastic water bottle, poke a few tiny holes in the cap, fill it with water, flip it upside down into your pot soil. It releases water slowly over 2-4 days. Completely free if you have plastic bottles lying around.
Self-watering pots with reservoirs: These have a water reservoir at the bottom. Plants draw up water through wicking action. You fill the reservoir every few days instead of daily watering. They cost a bit more upfront but save plants (and money) long term.
Drip irrigation kits: These connect to your tap and can be put on a timer. Basic kits are quite affordable now and can run 10-15 pots on a schedule. Especially useful if you have a lot of plants or travel frequently.
Mulching your pots: Placing a thin layer of coco peat, dry leaves, or straw on top of soil reduces moisture evaporation significantly. Free or nearly free, and it makes a real difference in summer heat.
If you’re setting up your balcony space for the long run, these 7 hacks for an essential balcony setup cover a lot of the foundational stuff that makes everything else easier — including water management.
A Few Mistakes Worth Mentioning
Before I wrap this up, a few things I’ve seen people (including myself) get wrong repeatedly:
Buying too many plants at once. It’s tempting to go all in immediately. But starting with 4-5 plants you actually manage well is better than 20 plants you can’t keep up with. Scale up once you know what works on your specific balcony — sun exposure, wind, temperature — because all of that is different depending on where you live and which direction your balcony faces.
Ignoring light conditions. Before you buy anything, spend a day watching where the sun hits your balcony and for how long. South-facing balconies get the most light. North-facing ones get the least. This determines everything about what you can grow.
Skipping drainage. Every pot needs drainage holes. This is non-negotiable. Roots sitting in water will rot. If you fall in love with a pot that has no holes, use it as an outer decorative sleeve and put the actual plant in a draining pot inside it.
Using garden soil from the ground. Regular garden soil compacts in containers, drains poorly, and often carries pests. Always use a container-appropriate mix.
What Changed for Me
The honest truth is that my balcony garden went from being a money pit and a source of frustration to something that actually gives back. I grow most of my own herbs now. My spring onions are basically endless. Cherry tomatoes in summer mean I’m not buying them for months.
The investment was small — some grow bags, a tiered stand, basic soil ingredients, a bottle drip system. The return has been consistent fresh produce, a genuinely nicer-looking balcony, and the slightly irrational but very real satisfaction of eating something you grew yourself.
Start small, stay consistent, and stop trying to make it perfect from day one. The best balcony garden is the one you actually maintain, not the one you planned out beautifully and then neglected.