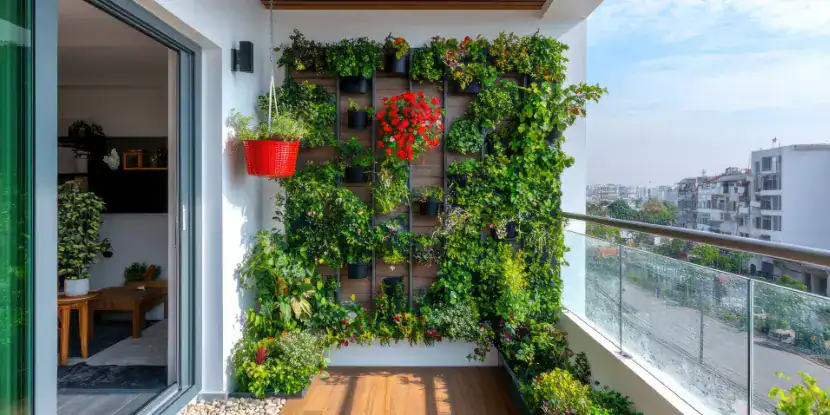
Okay, real talk — when I first moved into my apartment, my balcony was basically a dumping ground. A broken plastic chair, a sad-looking mop, and two dead plants from the previous tenant. That was it. I kept walking past it for months, telling myself I’d “do something with it eventually.”
Then came a long weekend, a YouTube rabbit hole, and suddenly I was elbow-deep in potting mix with soil under my fingernails and three herb seedlings on my lap. That was the beginning of what’s now become my favorite corner of the whole apartment.
If you’ve been staring at your balcony wondering where to even start, or if you’ve tried and failed (guilty — I killed my first tomatoes within two weeks), this one’s for you. These aren’t your generic “just add water” tips. These are the actual hacks that made a real difference for me.
1. Stop Thinking Horizontal — Go Vertical Instead
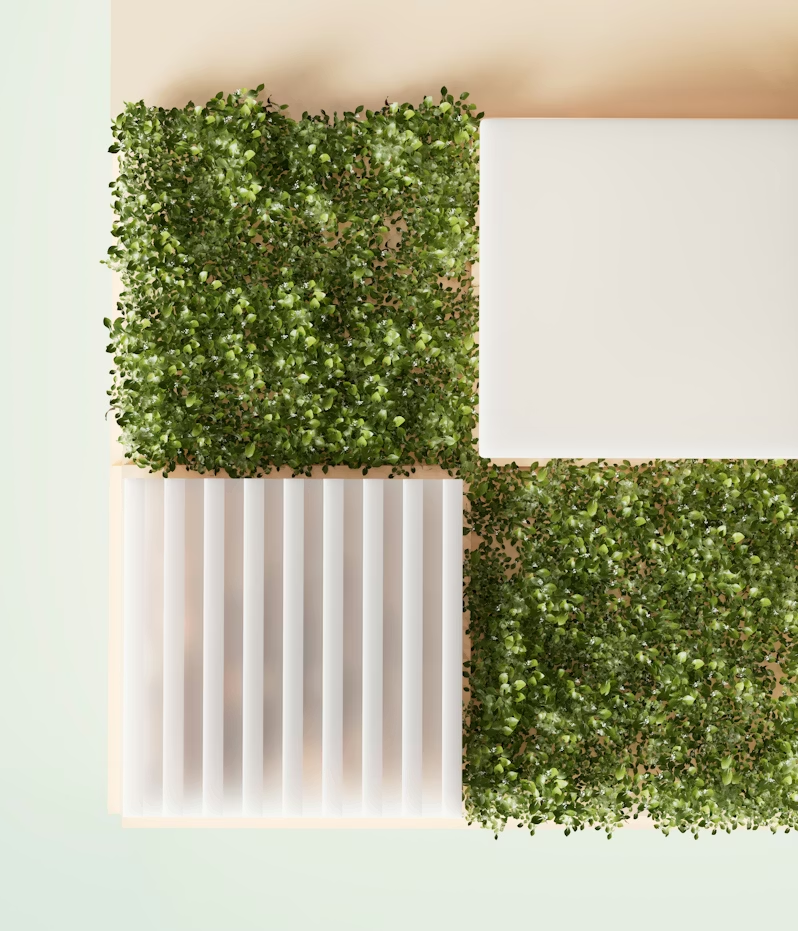
Most people look at a balcony and see floor space. But that’s actually the most limited resource you have. The real magic happens on your walls and railings.
When I first started, I crammed every pot onto the floor and wondered why my balcony felt claustrophobic and the plants still looked sad. Then a neighbor showed me her wall-mounted pocket planters, and honestly, it changed everything.
What actually works:
- Fabric pocket planters hung on the wall are perfect for herbs — mint, basil, coriander. They’re cheap, lightweight, and look surprisingly good once filled in.
- Railing planters with clips or hooks use the outer edge of your balcony, which most people ignore completely. I grow my green onions and chilies there now — full sun, great airflow.
- A simple wooden pallet leaned against the wall with a few small pots attached? Looks like something out of a cafe. Costs next to nothing if you grab one for free from a local store.
The beauty of going vertical is that you multiply your growing space without adding any floor clutter. Your balcony feels more open AND you have more plants. Win-win.
For more layout inspiration, check out these 10 Balcony Layout Ideas for a Smarter Outdoor Space — there are some genuinely clever arrangements in there that I wish I’d seen earlier.
Quick Tip: Don’t go too heavy on any single railing mount. I made that mistake with a large terracotta pot and my railing bracket bent. Go lightweight — plastic or fabric containers are your best friend up on walls.
2. The Soil Mix Secret Nobody Talks About
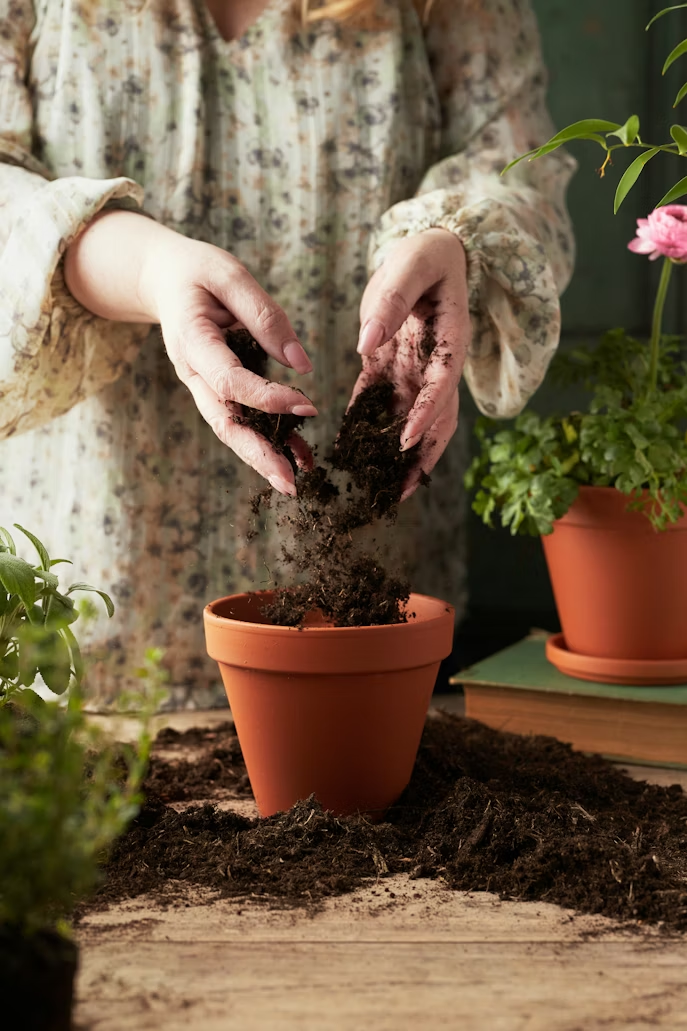
Here’s the thing they don’t tell you at the garden center: regular garden soil is terrible for balcony containers.
I didn’t know this at first. I bought a big bag of “garden soil” from a supermarket, filled my pots, planted my seedlings, and waited. The soil got rock-hard after a week, the water would just pool on top and run down the sides, and my plants looked miserable.
Turns out, balcony containers need a completely different mix because they have no connection to the ground. There’s no natural drainage, no earthworms aerating things, no soil ecosystem doing the work for you.
Here’s the mix that actually works for me:
| Ingredient | Ratio | Why It Matters |
|---|---|---|
| Coco peat (coir) | 40% | Holds moisture without getting waterlogged |
| Perlite or coarse sand | 30% | Creates drainage and prevents compaction |
| Compost | 20% | Feeds the plant naturally |
| Vermicompost | 10% | Boosts microbial activity |
This mix stays light (important for balcony weight limits), drains well, and holds just enough moisture to keep roots happy.
I mix this myself now in a big plastic tub. It takes maybe 15 minutes and costs a fraction of what those fancy “potting mixes” charge. Coco peat is especially easy to find — it usually comes in compressed bricks that expand with water, which is actually satisfying to do.
One thing I learned the hard way: always add a small layer of gravel or broken pot pieces at the bottom of your container before you add soil. Keeps the drainage hole from getting clogged. Sounds basic, but I skipped it for months and wondered why my pots were always damp at the bottom.
For a deeper dive into soil mixes and what really makes them work, this article on 8 Ultimate Soil Mix Tips Every Gardener Needs to Know breaks it down really well.
3. Water Smarter, Not More
Overwatering killed more of my plants than anything else in the first year. And I say this as someone who cared about their plants. Caring too much was the problem.
It seems counterintuitive, but most beginners drown their plants thinking they’re nurturing them. The roots need oxygen just as much as water, and when your soil stays soggy all the time, the roots literally suffocate.
The finger test — use it every single time:
Push your finger about an inch into the soil. If it feels moist, don’t water. If it feels dry, water thoroughly until it drains from the bottom. That’s it. No schedule, no guessing.
I used to water on a fixed schedule — every morning, like clockwork. The problem? Balcony conditions change. In summer, pots dry out fast. On a cloudy, humid day, they might stay moist for three days. A fixed schedule ignores all of that.
A few things that genuinely helped me:
- Self-watering pots with a reservoir at the bottom. The plant draws up water as needed. I use these for my tomatoes and peppers, and the difference is noticeable — steadier growth, fewer yellowing leaves.
- Drip irrigation kits — there are inexpensive ones on Amazon (brands like Raindrip or Claber) that you can set up with a timer. Set it, forget it. Especially useful if you travel or work long hours.
- Grouping pots together slightly raises humidity around the plants and slows moisture loss. I noticed my herb corner stays more consistently moist than the isolated pots elsewhere on the balcony.
Watering times matter too. Early morning is best — it gives leaves time to dry before evening, which reduces fungal issues. I made the mistake of watering at noon in summer once. The water evaporated almost instantly and the soil surface actually got a sort of crust.
Visual guide to common watering mistakes:
| Mistake | What It Looks Like | What To Do |
|---|---|---|
| Overwatering | Yellow leaves, soft stem, mushy soil | Let it dry out, improve drainage |
| Underwatering | Crispy edges, drooping, dry soil | Water deeply, then check drainage |
| Wrong timing | Scorched leaves, rapid evaporation | Switch to morning watering |
| Shallow watering | Roots grow upward, unstable plant | Water slowly and deeply each time |
4. Grow What Actually Makes Sense for Your Space (and Climate)
This might sound obvious, but it took me a while to truly internalize: grow what suits your conditions, not what looks pretty on Pinterest.
I tried growing strawberries on my balcony because they looked adorable. My balcony faces north. Strawberries need lots of sun. I got exactly three tiny, pale strawberries over two months. Not worth it.
Once I started actually paying attention to how much sunlight my balcony gets (I tracked it for a weekend — just noting which areas got sun and for how long), my plant choices got a lot smarter.
A quick framework for choosing plants:
| Sunlight Condition | What Works Well |
|---|---|
| Full sun (6+ hrs) | Tomatoes, peppers, basil, beans |
| Partial sun (3–5 hrs) | Spinach, lettuce, mint, parsley |
| Low light (under 3 hrs) | Pothos, peace lily, ferns, microgreens |
Herbs are still my top recommendation for anyone just starting. They’re forgiving, grow fast, you actually use them in cooking, and they look lush even in small pots. I grow coriander, mint, green chili, and curry leaf on my balcony year-round.
For beginners especially, fast-growing crops give you early wins and keep you motivated. Radishes can be harvested in 3–4 weeks. Coriander and spinach start showing real growth within 10 days. That early gratification matters — it’s what keeps you coming back.
I’d also say: don’t overcrowd your pots. I used to think more seeds = more plants = more food. What actually happened was a tangled mess of weak, pale seedlings competing for nutrients and light. Now I follow the spacing recommendations on seed packets, and the difference in plant health is genuinely dramatic.
Check out this guide on 7 Easy Crops for Beginners That Will Really Grow — it’s got a solid list of plants that are actually forgiving for apartment growers.
Common Mistakes I Made (So You Don’t Have To)
Since I’ve been doing this for a while now, here’s a quick rundown of the things that cost me plants, money, and morale:
Buying too many plants at once. I did this on my first trip to the nursery. Came home with 11 pots. Had no system, no soil prep, no idea what I was doing. Half of them died within a month. Start with 3–5 plants max.
Ignoring weight limits. Balconies have structural load limits. Large terracotta pots filled with wet soil get heavy. I switched to lightweight plastic and fabric containers for most things, keeping terracotta only for a couple of statement plants near the wall.
Skipping fertilizer after the first month. Your potting mix comes with nutrients, but they get used up and washed out. After about 4–6 weeks, you need to start feeding your plants. I use a basic liquid fertilizer (NPK 19-19-19) diluted in water every two weeks. Game changer.
Not protecting plants from harsh afternoon sun. Some days my balcony gets brutal afternoon heat. A simple shade cloth (50% shade rating) clipped to the railing protects delicate plants without blocking all light. Took me way too long to figure this out.
A Real Talk About Expectations
Balcony gardening isn’t going to replace your grocery bill. Let’s be honest about that. But what it does do is remarkable in its own quieter way.
There’s something genuinely calming about going out to your balcony in the morning with a cup of tea and seeing things you planted actually growing. Snipping fresh herbs into your food. Watching a caterpillar show up (annoying but also somehow exciting). Figuring out why a plant is unhappy and nursing it back to health.
It’s also really good for your apartment’s air quality and aesthetic. My balcony used to feel like dead space. Now it’s the part of my home I’m most proud to show visitors.
If you’re ready to take your balcony from zero to green, the best time to start was three months ago. The second best time is this weekend. Grab a few pots, a bag of coco peat, some herb seeds, and just begin. You’ll learn more from one season of actual growing than from reading ten more articles (yes, including this one).
Wrapping Up
Here’s the honest summary: vertical space, the right soil mix, smarter watering, and growing plants suited to your actual conditions — these four things transformed my balcony from a frustrating experiment into something I genuinely look forward to every day.
None of it requires a big budget or a green thumb. It just requires paying attention and being willing to adjust when something isn’t working.