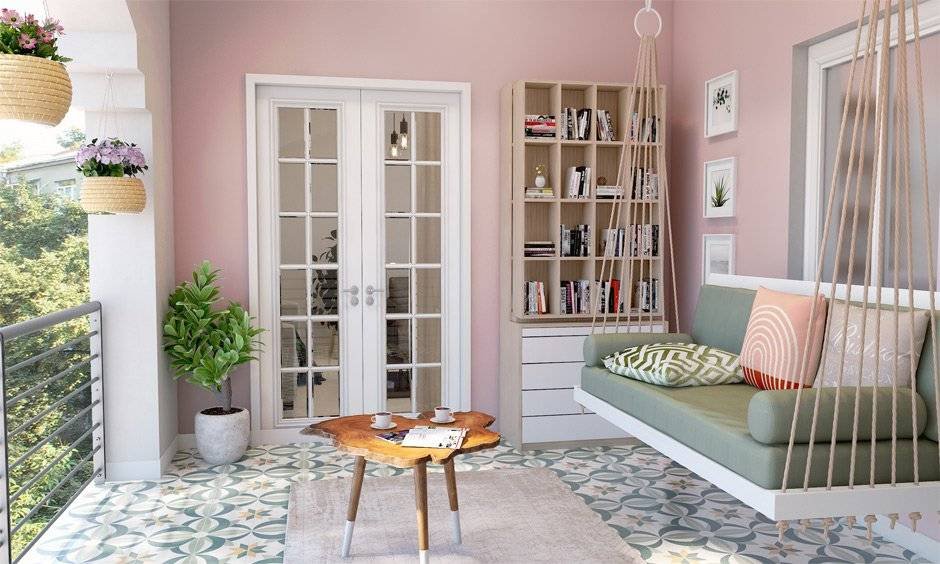
My neighbor asked me which interior designer I hired for my balcony. I had to laugh — because the whole thing cost me under $80, built over three weekends using stuff I mostly found at a discount home store and one very lucky trip to a Sunday flea market.
That question was honestly the best compliment I’ve ever received about anything I’ve done to my apartment.
Here’s the thing about balcony setups that most people get wrong: they assume a beautiful outdoor space requires a big budget. They scroll through Pinterest, see teak furniture and designer planters and string lights that cost $60 a strand, and think “okay, not for me.” Then they leave their balcony empty for another season.
I was that person. For two full years, my balcony was basically a storage unit with a view. Old boxes, a broken chair, and a few dead plants I kept meaning to replace. It felt like a waste, but I couldn’t justify spending hundreds on outdoor furniture that might get ruined by weather anyway.
What finally changed things was a shift in perspective. I stopped thinking about what expensive balconies have and started thinking about what they look like — and then figured out how to replicate that look without the price tag.
Here’s everything I actually did.
1. Fake the “Designer Furniture” Look With Painted Pallets and Budget Finds
Before you roll your eyes — I know pallet furniture sounds like a 2015 Pinterest cliché. But stay with me, because the way you finish it makes all the difference between “DIY project gone wrong” and “did you get that from a boutique store?”
The secret is paint and cushions. That’s it.
I found two wooden pallets for free from a local grocery store (most stores give them away — just ask). Sanded them down, applied two coats of a deep charcoal grey exterior paint (cost me about $12 for a small tin), and then bought two outdoor cushions from a discount home store in a muted sage green.
The result looked genuinely like something from a mid-range furniture catalogue.
What makes budget furniture look expensive:
| Element | Budget Option | What It Mimics |
|---|---|---|
| Paint finish | Matte exterior paint in neutral tones | Designer powder-coated metal |
| Cushions | Solid colors in earthy/muted tones | Boutique outdoor furniture |
| Legs/risers | Hairpin legs from hardware store ($8–12) | Contemporary furniture feet |
| Arrangement | Angled placement, not pushed against walls | Styled showroom layout |
The cushion color choice matters more than people realize. Avoid busy patterns if you want an expensive look. Stick to solid colors — sage, dusty rose, terracotta, navy, or warm grey. Those tones photograph well and age gracefully, which is exactly why higher-end brands default to them.
One mistake I made: I bought bright yellow cushions first because they seemed cheerful. They looked cheap. Swapped them for a warm off-white, and the entire vibe shifted immediately.
2. String Lights — But Done the Right Way
String lights are everywhere, which means doing them badly is just as common as doing them well. The difference between a balcony that looks like a romantic terrace and one that looks like a budget hostel comes down almost entirely to how the lights are hung.
I spent $14 on a set of warm white Edison-style bulb string lights. Not the tiny fairy lights, not the cool white LED ones — warm white, with slightly larger bulbs. That warmth is what creates the golden-hour glow that makes outdoor spaces look inviting in photos and in real life.
The setup that actually works:
- Run the string from one corner of the balcony ceiling or overhang to the opposite corner diagonally — not straight across.
- Let the line droop slightly in the middle. That gentle curve looks intentional and elegant; a tight, straight line looks utilitarian.
- Add a second line if your balcony is wide enough, running parallel or at a slight angle to the first.
- Plug into a smart plug (I use a cheap Wi-Fi smart plug, around $8) so you can set a schedule. They come on automatically at dusk and turn off at midnight. No fumbling for switches, no forgetting to turn them off.
The smart plug was genuinely a game changer. Something about the lights simply being on when you step outside in the evening — without you having to do anything — makes the whole space feel more curated and lived-in.
What to avoid: Multicolor lights, blinking modes, and anything that comes in a box marketed for Christmas. Even if the bulbs are the same, the vibe immediately reads as “holiday decoration” rather than “intentional design.”
For more ideas on how to use vertical space and lighting together, 12 Vertical Gardens to Smarten Up Any Space has some approaches that pair really well with this lighting setup.
3. Use Plants Strategically — Not Just Decoratively
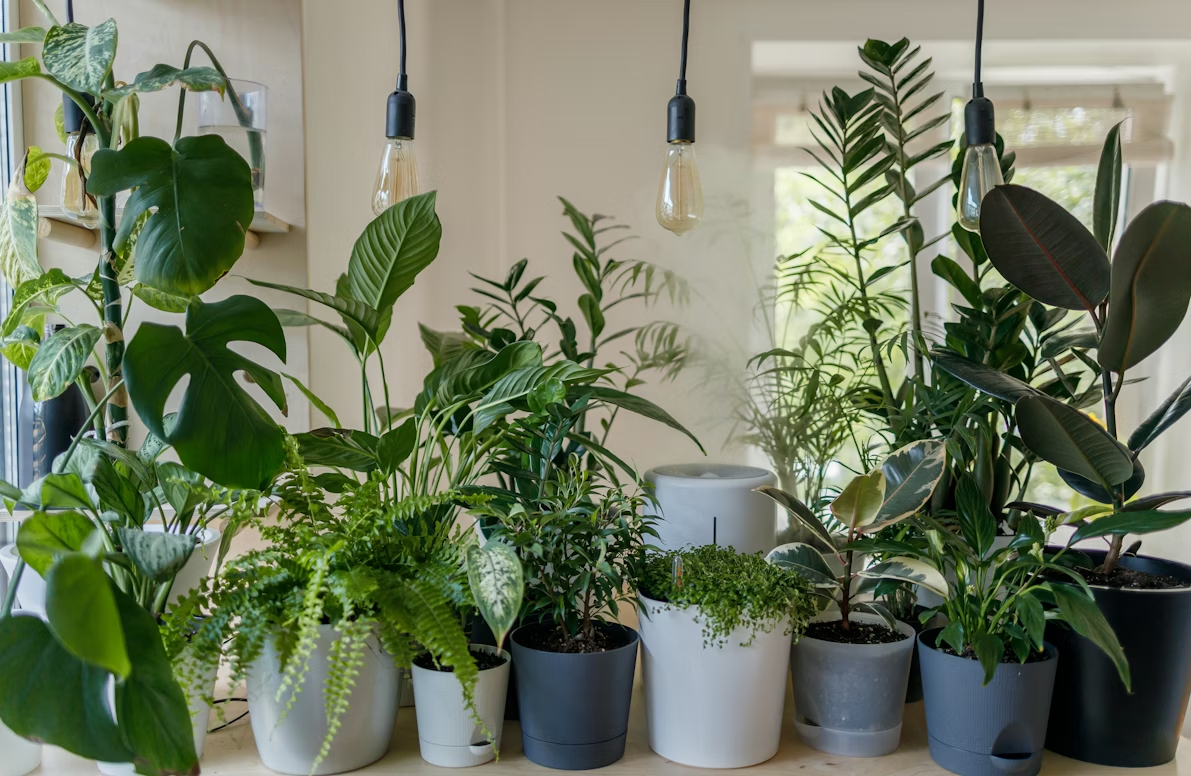
Most people put plants on a balcony and call it done. A few pots scattered around, maybe a railing planter. It looks fine. It doesn’t look expensive.
What expensive balconies actually do is use plants to create structure — almost like green architecture. There’s layering: something tall in the back, medium height in the middle, trailing or low plants at the front or edges. That visual depth is what makes a space feel designed rather than just decorated.
And here’s the thing — you can achieve this with the most budget-friendly plants available.
My actual three-layer setup:
- Back layer (tall): One bamboo plant in a tall dark pot. Bamboo is fast-growing, dramatic, and costs very little. It also gives a privacy screen effect, which is practical and beautiful at the same time.
- Middle layer: A mix of pothos and snake plants. Both are almost indestructible, available everywhere, and look lush and full within a few weeks of settling in.
- Front/edge layer: Trailing string of pearls in a hanging pot near the railing. It drapes down beautifully and catches the eye.
The pots matter almost as much as the plants. I spray-painted plain terracotta pots with matte black exterior spray paint. Cost per pot: about $2 in paint. The transformation is dramatic — matte black pots read as modern and expensive in a way that basic orange terracotta simply doesn’t.
A budget breakdown of my plant layer setup:
| Layer | Plant | Cost | Pot Treatment |
|---|---|---|---|
| Back | Bamboo (small starter) | $6–8 | Tall dark plastic pot, $4 |
| Middle | Snake plant | $5–7 | Terracotta + black spray paint |
| Middle | Pothos | $3–5 | Same treatment |
| Edge | String of pearls | $6–9 | Small hanging basket |
| Total | ~$30–35 |
If you want to take the plant side of things further — including how to keep them actually alive and thriving — 6 Container Secrets for Game-Changing Gardening covers the practical stuff in a way that genuinely helped me stop killing things.
4. Create a Focal Point With a DIY Accent Wall
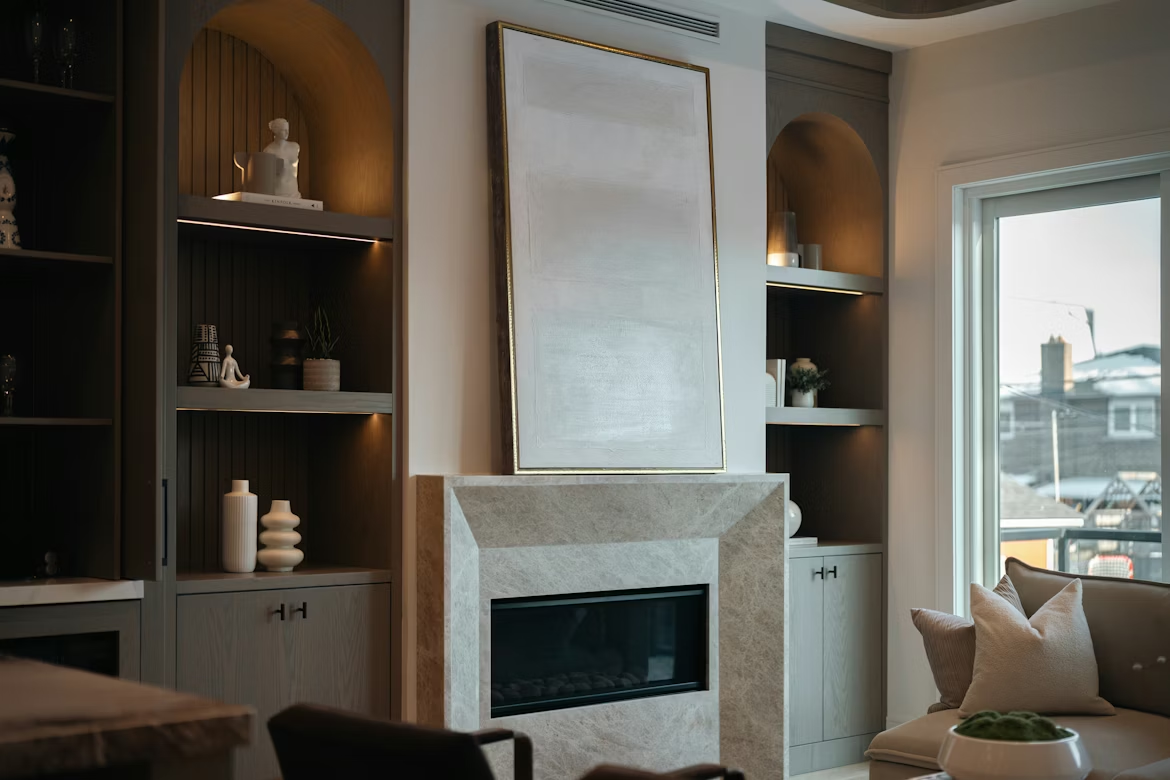
This one genuinely surprised me with how much impact it had for how little it cost.
A focal point is what gives a space a sense of intention. It’s the thing your eye goes to first when you step outside. Without one, a balcony just looks like a collection of stuff. With one, it looks like a considered space.
On my balcony, the focal point is a bamboo reed fence panel that I attached to the back wall. It’s the kind you can find at garden centers or online for $15–25 for a large panel. I attached it with heavy-duty outdoor adhesive strips and a few small screws through the border.
The effect: instant warmth, texture, and a spa-like quality that makes the whole balcony feel more enclosed and private. It also hides the rather ugly concrete wall behind it, which was a bonus I didn’t fully anticipate.
Other budget focal point ideas:
- Outdoor mirror: A medium-sized weatherproof mirror mounted on the wall creates depth and reflects light. An IKEA LINDBYN or similar costs around $20–30. On a balcony, it makes the space feel twice as large.
- Vertical planter panel: A few staggered wall-mounted planters create a living wall effect. This works especially well with trailing plants or small herbs.
- Reclaimed wood panel: A few lengths of pallet wood arranged horizontally and stained in a warm walnut tone creates a feature wall that looks genuinely architectural.
The key principle: pick one focal point and commit to it. Two competing focal points just create visual noise, which is the opposite of what expensive spaces do.
I made this mistake early on — I had the bamboo panel and a large mirror and a decorative lantern grouping all on the same wall. It looked cluttered and confused. I removed the lanterns, spread them to a side table instead, and the wall immediately calmed down and looked purposeful.
5. Layer Your Textiles — Even Outdoors
This was the last thing I added and probably the one that had the biggest return per dollar spent.
Expensive outdoor spaces always have textiles. Not just cushions — there’s a rug, a throw draped over something, maybe a small tablecloth on a side table. That layering of fabric creates a sense of comfort and fullness that bare furniture simply can’t achieve.
The challenge is finding outdoor textiles that don’t cost a fortune and don’t disintegrate after one rainy season.
Here’s what actually worked for me:
Outdoor rug: I found a flatweave outdoor rug at a discount home store for $18. It’s polypropylene — meaning it’s water-resistant, easy to clean, and doesn’t fade badly in sunlight. The pattern is a simple geometric in two tones of grey. It defines the “living area” of the balcony and anchors the furniture, which is exactly what interior designers say rugs are supposed to do.
Throw blanket: A cheap cotton throw from a home store, draped casually over the arm of the sofa. Yes, it’ll get rained on occasionally. Yes, it dries out fine. I bring it inside during heavy rain and that’s it. It adds warmth and that “someone actually lives here and is comfortable” feeling that makes a space look styled rather than staged.
Plant pot saucers as coasters: This sounds ridiculous but works. Small terracotta saucers under drinks on a side table look intentional and earthy — and cost pennies.
A rough cost breakdown of the textile layer:
| Item | Cost |
|---|---|
| Outdoor flatweave rug (medium) | $18–25 |
| Cotton throw blanket | $10–15 |
| Cushion covers (2–3 solid colors) | $6–10 each |
| Total | ~$45–65 |
The rug especially changes the feel of the space almost instantly. It’s one of those things that seems like a small detail but makes a before-and-after difference that’s hard to explain until you see it.
For more ways to think about layout and maximizing a small outdoor space, 10 Balcony Layout Ideas for a Smarter Outdoor Space goes into the spatial thinking behind arrangements that actually work — which pairs well with everything above.
The Full Budget Picture
Here’s the honest number-by-number breakdown of my balcony transformation, so you can see that I’m not cherry-picking the cheap bits:
| Category | What I Did | Approximate Cost |
|---|---|---|
| Furniture | Painted pallet sofa + cushions | $25–35 |
| Lighting | Warm white string lights + smart plug | $22 |
| Plants + pots | 4 plants, spray-painted pots | $30–35 |
| Focal point | Bamboo reed fence panel | $20 |
| Textiles | Rug + throw + cushion covers | $45–65 |
| Grand Total | ~$142–177 |
Under $180 for a complete balcony transformation. And that’s if you buy everything new — with a little patience at flea markets or Facebook Marketplace, you could easily halve that.
Common Mistakes That Make Budget Setups Look Cheap
Mixing too many colors. Pick a palette of two to three colors maximum and stick to it. More than that and the space looks chaotic.
Ignoring scale. A tiny rug under large furniture looks like a mistake. A small pot with a large plant looks wrong. Proportion matters enormously.
Buying cheap lights in cool white. Cool white is clinical and harsh. Warm white is inviting. This single choice affects the entire mood of the space after dark.
Cluttering the railing. A few railing planters look intentional. Six of them look like you ran out of floor space. Less is almost always more when it comes to railing elements.
Skipping maintenance. A wilted plant or a rug that’s turned green from mildew undoes everything else. Budget setups require slightly more attention to upkeep because the materials are less forgiving. A $5 bottle of outdoor fabric cleaner and ten minutes every couple of weeks keeps everything looking fresh.
What Nobody Tells You About Budget Balcony Design
The most expensive-looking spaces aren’t the ones with the most stuff — they’re the ones with the most considered stuff. Every element has a reason to be there.
When I finally stopped trying to fill every inch of my balcony and started editing — removing things that didn’t contribute to the overall feel — the space immediately looked more elevated.
That editing instinct is free. It costs nothing except the willingness to take something away that isn’t working, even if you paid for it.
My balcony isn’t finished, honestly. I’m still experimenting. Last month I tried adding a small side table I found at a secondhand shop and painted white — it worked. Before that I tried a wind chime that I thought would add charm and ended up annoying my neighbors and myself in equal measure. Removed it after a week.
That’s just how this goes. You try things, you adjust. The budget constraint actually forces creativity in a way that having unlimited money doesn’t — and the end result feels genuinely yours.