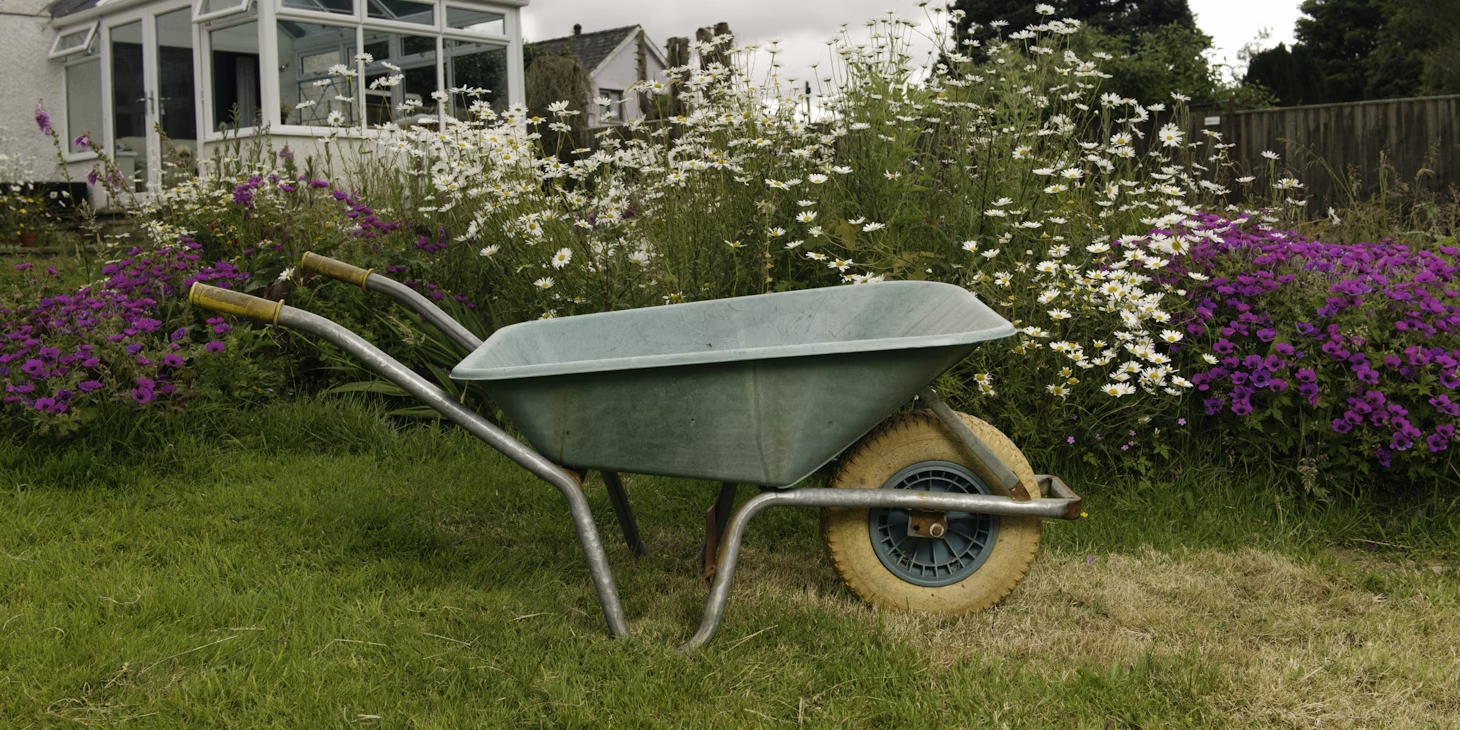
Last spring, I stood on my tiny balcony staring at three sad-looking tomato plants, a bag of expensive fertilizer that had done basically nothing, and a watering can I’d already refilled four times that morning. I’d spent way more than I planned, the plants looked worse than when I started, and I was genuinely considering just buying tomatoes from the corner shop and calling it a day.
Then a neighbor — retired, weathered hands, garden that looked like something out of a magazine — leaned over the railing and said, “You know you don’t need any of that stuff, right?”
That conversation changed everything.
What she shared with me were not Pinterest-perfect ideas or sponsored product recommendations. They were real, dirt-under-the-fingernails hacks that cost almost nothing and actually worked. I spent the next few months testing them myself, making mistakes along the way, and fine-tuning what she told me. Here’s what I found.
1. The Banana Peel Fertilizer Trick
I’ll be honest — when my neighbor first mentioned banana peels, I laughed a little. It sounded like the kind of thing someone posts online that never actually works. But I was also spending a ridiculous amount on liquid fertilizer, so I figured I had nothing to lose.
Here’s the thing: banana peels are loaded with potassium, phosphorus, and calcium — basically the stuff your plants are quietly begging for. Potassium especially is critical for flowering and fruiting, which is exactly why my tomatoes had been so disappointing.
How I actually do it:
Start saving your banana peels instead of tossing them. You’ve got two options here depending on how patient you are.
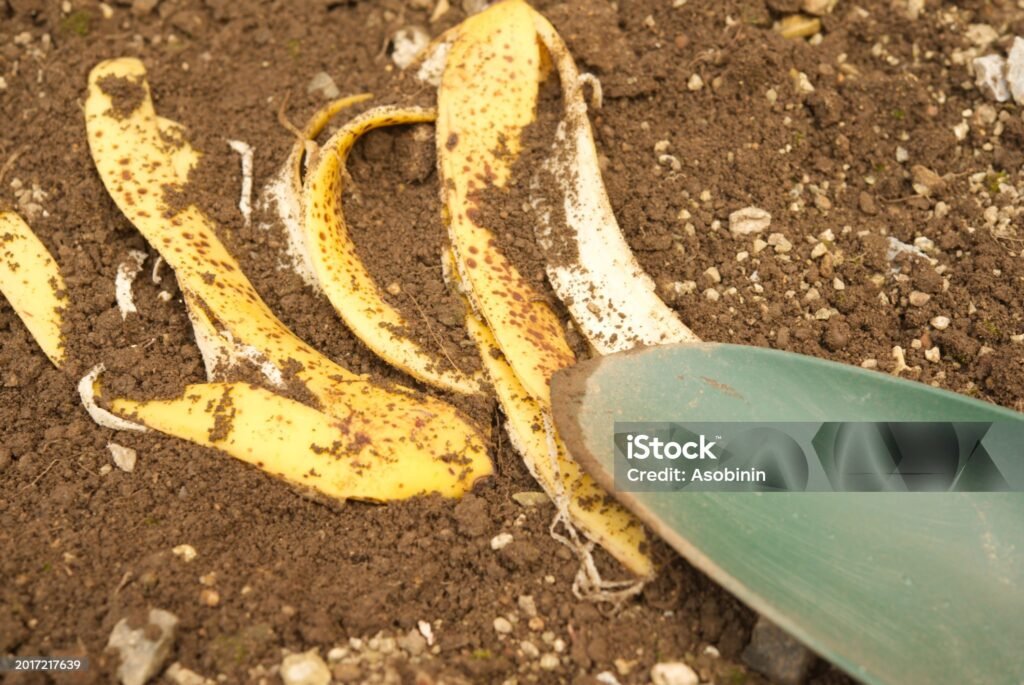
Option 1 — The lazy method (my personal favorite): Chop the peels into small pieces and bury them about an inch deep in your containers or garden beds. As they break down, nutrients go straight to the roots. Takes a couple of weeks but requires zero effort.
Option 2 — The faster method: Soak two or three peels in a jar of water for 48 hours. The water turns slightly yellowish and smells a bit funky — that’s fine, it means it’s working. Dilute it with an equal part of plain water and pour it around your plants once a week.
I tested both on the same variety of tomato plant side by side. The soaked water method showed visible results faster — more new leaves within 10 days. The buried peel method caught up after about three weeks and seemed to have a longer-lasting effect overall.
Mistake I made: I buried whole peels without chopping them first. They just sat there for weeks without breaking down properly, and I accidentally attracted some fruit flies. Chop them small — trust me.
This hack alone replaced about 60% of my fertilizer spending. I still use a quality fertilizer for specific situations, but banana peel water has become a weekly ritual at this point.
2. Eggshell Pest Barrier + Calcium Booster (Two Hacks in One)
This one surprised me the most because it does double duty — and I almost skipped it because it sounded too simple.
Crushed eggshells serve as a natural calcium supplement for your soil, which is especially useful if you grow tomatoes, peppers, or squash. These plants are prone to a condition called blossom end rot, which is basically what happens when they can’t absorb enough calcium. It shows up as dark, sunken patches on the bottom of your fruit. Heartbreaking after all that effort.
But here’s the second benefit that honestly blew my mind: slugs and soft-bodied insects absolutely hate crawling over crushed eggshells. The sharp edges are uncomfortable for them, so they avoid your plants entirely. No poison, no chemical spray, no fuss.
How to set it up:
Rinse your eggshells and let them dry out completely — this is important, wet shells can get moldy. Then crush them into rough, irregular pieces. Not powder, you want actual jagged bits.
Sprinkle them generously around the base of your plants in a circle about 3–4 inches wide. Reapply after heavy rain since they wash around.
For the calcium benefit, you can also grind some into a finer powder and mix it directly into your potting soil when you plant or repot. I add a good handful per medium-sized container.
If you want to check out smart ways to set up your balcony containers for maximum effect, 6 Container Secrets for Game-Changing Gardening has some genuinely useful ideas I’ve come back to more than once.
What I got wrong initially: I used shells that I hadn’t rinsed properly. The leftover egg residue started to smell after a few days in the summer heat. Not a catastrophic mistake, but definitely unpleasant. Rinse them, let them air dry, then crush.
After adding crushed shells to my tomato containers, I had zero blossom end rot that season. Compared to the year before where I lost probably a third of my fruits to it — that felt like a massive win.
Comparison Table: Cheap Fertilizer Options
| Method | Cost | Effort Level | Time to See Results | Best For |
|---|---|---|---|---|
| Banana peel water | Near zero | Low | 1–2 weeks | Potassium-hungry plants (tomatoes, peppers) |
| Crushed eggshells | Zero | Low | 2–4 weeks | Calcium boost, pest barrier |
| Coffee grounds | Zero | Very low | 2–3 weeks | Acid-loving plants (berries, herbs) |
| Commercial fertilizer | Medium-high | Very low | 1 week | General use, fast results |
3. The Plastic Bottle Self-Watering System
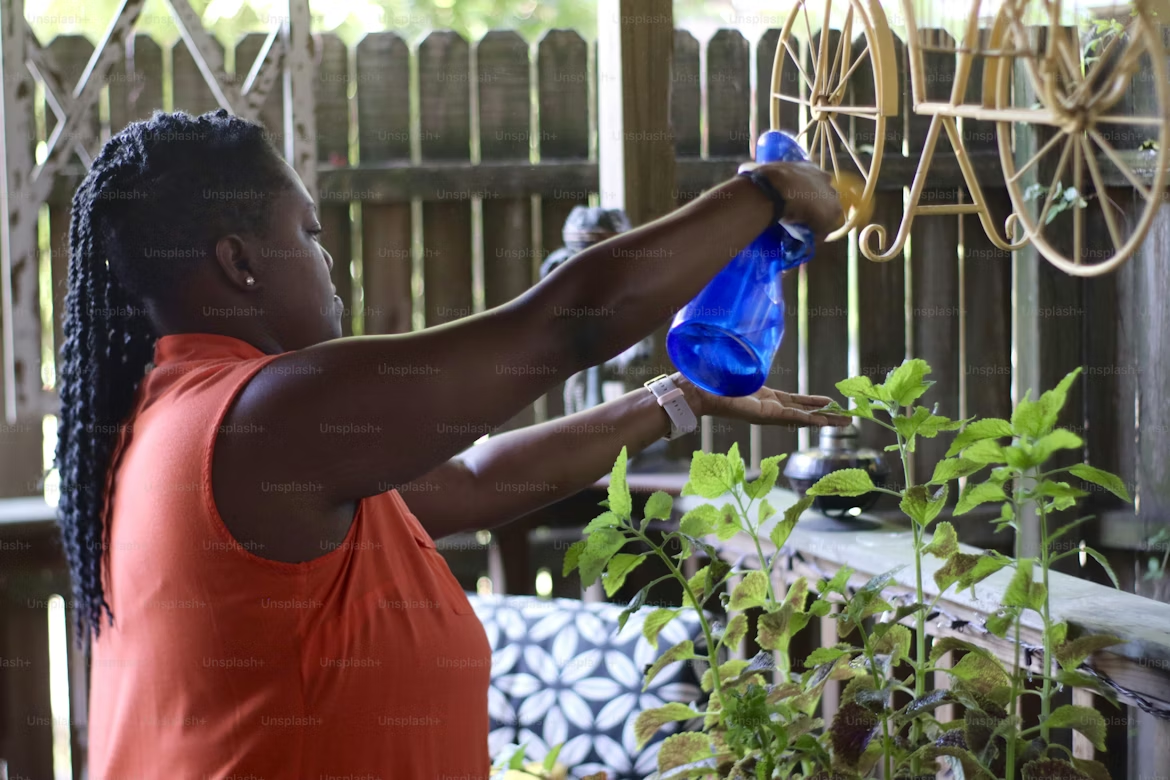
This one is for anyone who has ever gone away for a weekend, come back, and found their plants looking like they’d been through a drought. Or honestly, anyone who forgets to water regularly — no judgment, I am absolutely that person.
Empty plastic bottles (1.5L or 2L soda bottles work perfectly) can be turned into slow-drip irrigation systems in about five minutes. This is not an exaggeration. I’ve seen elaborate versions of this with multiple bottles and tubing, but the basic version is genuinely all you need.
Step-by-step:
- Take a clean plastic bottle and use a pin, a thin nail, or a heated skewer to poke 4–6 small holes in the cap. The smaller the holes, the slower the drip — you’ll need to experiment a bit based on how thirsty your plants are.
- Fill the bottle with water. You can add a tiny bit of liquid fertilizer here if you want to combine tasks.
- Flip it upside down and push the cap end about 2–3 inches into your potting soil, close to the plant’s root zone but not right against the stem.
- The water slowly seeps out through the holes over the course of 24–48 hours, depending on hole size and soil moisture.
That’s it. Genuinely. I have six of these across my balcony containers now, and the difference in how consistently moist the soil stays is remarkable.
For small containers, a 500ml bottle works. For larger pots or raised beds, I use two 2L bottles per plant during hot weather.
What I learned: In extreme heat, the water drains faster than expected. Check the bottles every day or two the first week to calibrate how many holes you need for your specific setup and climate. I also painted mine with acrylic paint because bare plastic bottles look a bit rough — small thing, but it makes the whole balcony feel more intentional.
This hack pairs beautifully with thinking through your overall watering schedule. If you haven’t already, These 8 Plant Watering Rules Every Owner Should Follow lays out a really solid framework that changed how I think about moisture management entirely.
The unexpected result: My herbs, which had always been inconsistent for me, became noticeably healthier once I switched to this system. Basil in particular — which is dramatic about both overwatering and underwatering — started thriving. Even moisture levels really do make a difference.
4. Coffee Grounds as Soil Amendment and Pest Deterrent
If you’re a coffee drinker, you’re already sitting on free garden gold every single morning. Used coffee grounds have become one of my most-used garden inputs, and they cost exactly nothing because they’re literally kitchen waste.
Here’s why they work: coffee grounds add organic matter to your soil, which improves drainage, water retention, and microbial activity all at once. They’re slightly acidic, which makes them fantastic for plants that prefer lower pH — herbs like mint and rosemary, strawberries, blueberries, and even roses respond really well.
They also deter certain pests. Slugs avoid them (similar to the eggshell effect), and there’s some evidence that ants dislike the smell enough to redirect their activity away from treated areas. I’ve noticed a significant reduction in ant activity around my containers since I started using grounds regularly.
How I use them:
Sprinkle a thin layer (about half a centimeter) on top of your potting soil and scratch it in gently. Don’t overdo it — a thick layer can actually become water-repellent and crusty, which defeats the purpose. Less is more here.
You can also mix grounds into your compost or directly into new potting mix when repotting. I add about one part grounds to ten parts soil mix.
Important mistake to avoid: I went heavy-handed with the grounds early on, thinking more would be better. The soil surface formed a gray crust that actually repelled water instead of absorbing it. Plants started looking stressed. Scraped it off, watered normally, and they recovered — but it was an avoidable setback. Thin, regular applications are much better than one big dump.
Also, not all plants love acidic conditions. Tomatoes are borderline fine, but things like lavender, sage, and most vegetables prefer neutral pH. I reserve my coffee grounds specifically for herbs, strawberries, and my one blueberry experiment on the balcony.
For more ideas on making your small space work harder, 12 Vertical Gardens to Smarten Up Any Space is worth a look — especially if you’re starting to run out of floor space for containers.
Real Results After One Full Season
I tracked my spending pretty carefully before and after adopting these hacks. The numbers aren’t scientific but they’re honest.
| Item | Before (Monthly) | After (Monthly) |
|---|---|---|
| Liquid fertilizer | ~$18 | ~$5 (occasional) |
| Pest control spray | ~$12 | ~$0 |
| Watering time/effort | ~20 mins daily | ~8 mins daily |
| Plant loss rate | ~30% | ~10% |
The biggest surprise wasn’t the money I saved — it was the time. The self-watering bottles especially gave me back a meaningful chunk of my mornings during the summer, which sounds small but genuinely changes how much you enjoy the whole thing.
Common Mistakes I See (And Made Myself)
Going all in immediately. Try one hack at a time so you can actually tell what’s working and what isn’t. If you start banana water, eggshells, coffee grounds, and bottle irrigation simultaneously, you won’t know what helped or hurt if something goes wrong.
Expecting instant results. These are slow, organic approaches. If you need fast results for a struggling plant, a diluted liquid fertilizer is still worth having around. These hacks work best as consistent maintenance, not emergency intervention.
Using contaminated materials. Banana peels from fruit that was treated with lots of pesticides, or eggshells from a carton that had cracks and potential contamination — compost those instead of using them directly on edibles. When in doubt, compost first.
Ignoring your specific plant needs. Coffee grounds for a lavender plant will slowly make it miserable. Know your plants’ preferences before reaching for any amendment, cheap or expensive.
One Last Thing
These four hacks aren’t magic. They won’t turn a neglected, badly positioned plant into a thriving specimen overnight. But combined with decent soil, appropriate containers, and some attention to light and water — they genuinely extend your budget, reduce waste, and produce healthier plants than a lot of expensive products I’ve tried.
The best gardening advice I ever got was from someone who spent almost nothing but grew more than anyone else on the street. Turns out the expensive stuff is often just the well-marketed stuff.
Start with whatever kitchen waste you’re already generating — banana peels, eggshells, coffee grounds — and build from there. The bottle irrigation is a Saturday morning project that pays back within the first week.