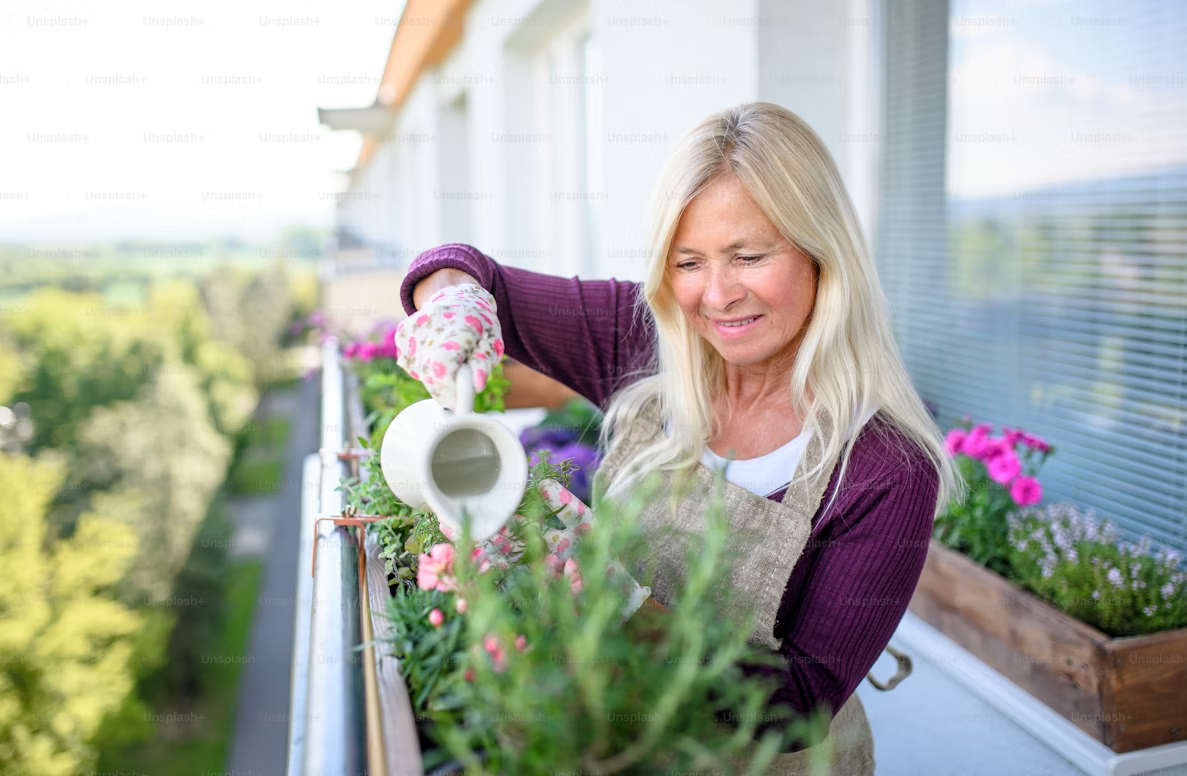
I’ll be honest — my balcony looked like a plant graveyard for the first two years.
Yellowing leaves. Wilting herbs. Tomatoes that never actually turned red. I kept blaming the weather, the soil, the pots — everything except the fact that I just didn’t know what I was doing.
Then I started paying attention. I watched, I experimented, I made a lot of mistakes. And slowly, things started clicking. My basil stopped dying. My spinach actually grew. I even got a few strawberries last spring that were genuinely worth eating.
None of it came from some magic product or expensive setup. It came from small, smart adjustments that made a real difference. So here are the 7 hacks that genuinely worked for me — things I wish someone had told me on day one.
1. Stop Watering on a Schedule — Water by Feel
This was my biggest mistake early on. I had a watering schedule. Every morning, 7am, without fail. I thought I was being responsible.
What I was actually doing was drowning some plants and under-watering others — because different plants in different sized pots dry out at completely different rates.
The fix? Stick your finger about an inch into the soil. If it’s damp, walk away. If it’s dry, water. That’s genuinely it.
For a bit more accuracy (especially during Karachi summers when things dry out fast), I started using a cheap soil moisture meter — something like the XLUX T10. It costs almost nothing and takes the guesswork out entirely. Green means leave it, red means water.
A quick reference for common balcony plants:
| Plant | Water When… |
|---|---|
| Tomatoes | Top inch is dry |
| Herbs (basil, mint) | Soil feels slightly dry |
| Succulents | Soil is completely dry |
| Leafy greens | Consistently moist |
| Peppers | Top 1–2 inches dry |
Once I stopped forcing a routine and started actually checking, my plants visibly improved within two weeks. No exaggeration.
2. Use the Right Pot Size — Bigger Isn’t Always Better
When I started growing tomatoes, I used a massive pot thinking more space = more growth. The plant looked sad for months. Turns out, oversized pots hold too much moisture around the roots, which leads to root rot. Especially if you’re watering regularly.
On the flip side, cramped pots mean roots circling themselves with nowhere to go. You get a stunted plant that constantly looks thirsty even right after watering.
The sweet spot depends on what you’re growing. Here’s what I’ve found works on a real balcony:
- Herbs (basil, cilantro, parsley): 6–8 inch pots
- Lettuce and spinach: 8–10 inch wide, shallow containers
- Tomatoes and peppers: At minimum 12–14 inches deep
- Strawberries: Individual 8-inch pots or a dedicated strawberry planter
Also — and this took me embarrassingly long to learn — drainage holes are non-negotiable. I once used a decorative pot with no hole because it looked nice. Lost the plant in three weeks to root rot. Lesson learned the hard way.
If you love a decorative pot, just use it as an outer sleeve and keep the plant in a regular pot with drainage inside it.
3. Mix Your Own Soil Instead of Using Bagged Potting Mix Straight
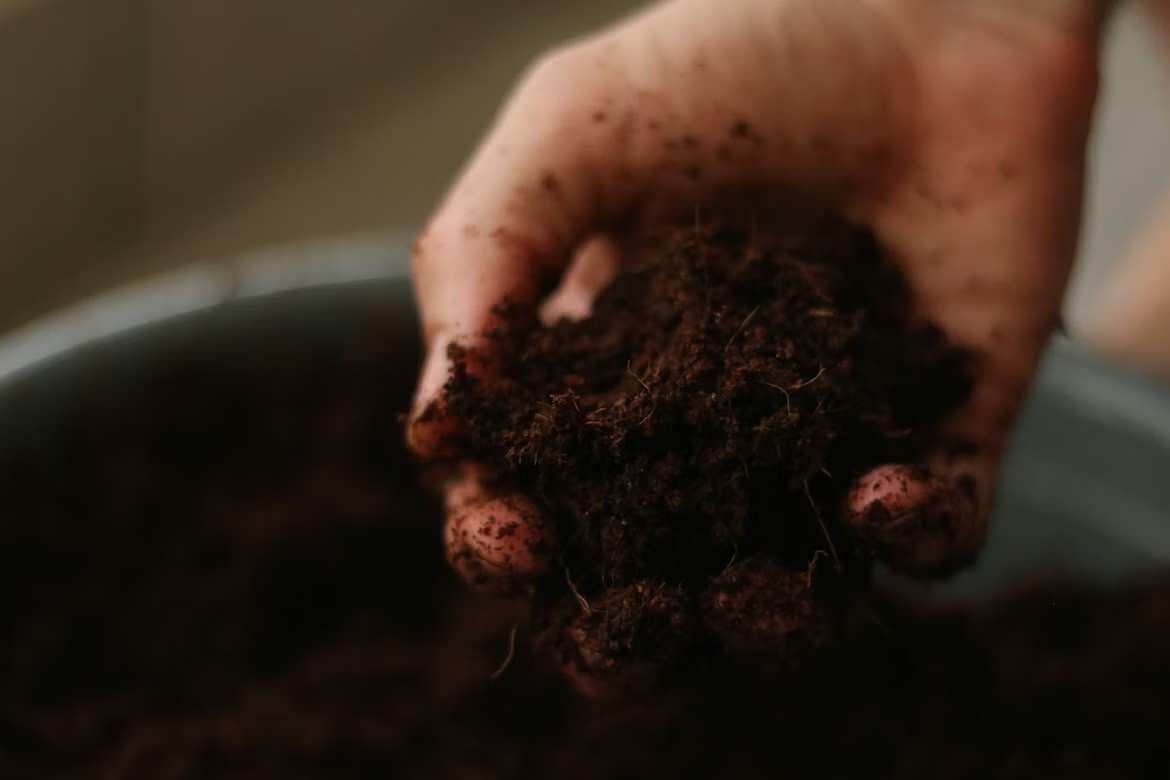
Standard potting mix from a bag? It’s fine as a base, but it’s rarely perfect on its own for container gardening. Most of it compacts over time, blocks drainage, and doesn’t hold nutrients well enough for the intensive growing you’re doing in a small space.
My go-to mix now is:
- 60% standard potting mix
- 20% perlite (improves drainage and aeration)
- 20% compost (for nutrients and microbial activity)
Perlite looks like tiny white balls — it keeps the soil light and fluffy, which means roots can breathe. Compost feeds the plant slowly without the chemical burn that can come from synthetic fertilizers.
If you want to go deeper on this, there’s a fantastic breakdown of 8 Ultimate Soil Mix Tips Every Gardener Needs to Know that changed how I think about container soil entirely.
The first time I used this mix, my herbs grew noticeably faster and I didn’t have to fertilize as often. The soil also stayed loose after weeks of watering, instead of turning into a dense brick.
4. Feed Consistently, But Don’t Overdo It
Plants in containers run out of nutrients much faster than plants in the ground. The soil is limited, and every time you water, you’re slowly flushing nutrients out through the drainage hole.
But here’s the thing — more fertilizer does not mean faster growth. I burned a whole batch of seedlings with too much liquid fertilizer once. The leaves curled, turned brown at the edges, and the plants basically went into shock.
What works is a light, consistent approach:
For leafy greens and herbs: A diluted liquid fertilizer (like a seaweed-based one) once every 10–14 days during growing season. Half the recommended dose.
For fruiting plants (tomatoes, peppers): A balanced fertilizer when they’re young, then switch to something higher in potassium and phosphorus once they start flowering. This actually helps with fruit production.
Signs you’re over-fertilizing:
- Brown leaf edges
- Crusty white residue on soil surface
- Leaves curling or dropping
Signs you’re under-fertilizing:
- Pale yellow leaves (especially older ones)
- Slow or stunted growth
- Weak stems
I keep it simple with a slow-release granular fertilizer worked into the top of the soil every 6–8 weeks, plus occasional liquid feed during peak growing season.
5. Use Companion Planting to Fight Pests Naturally
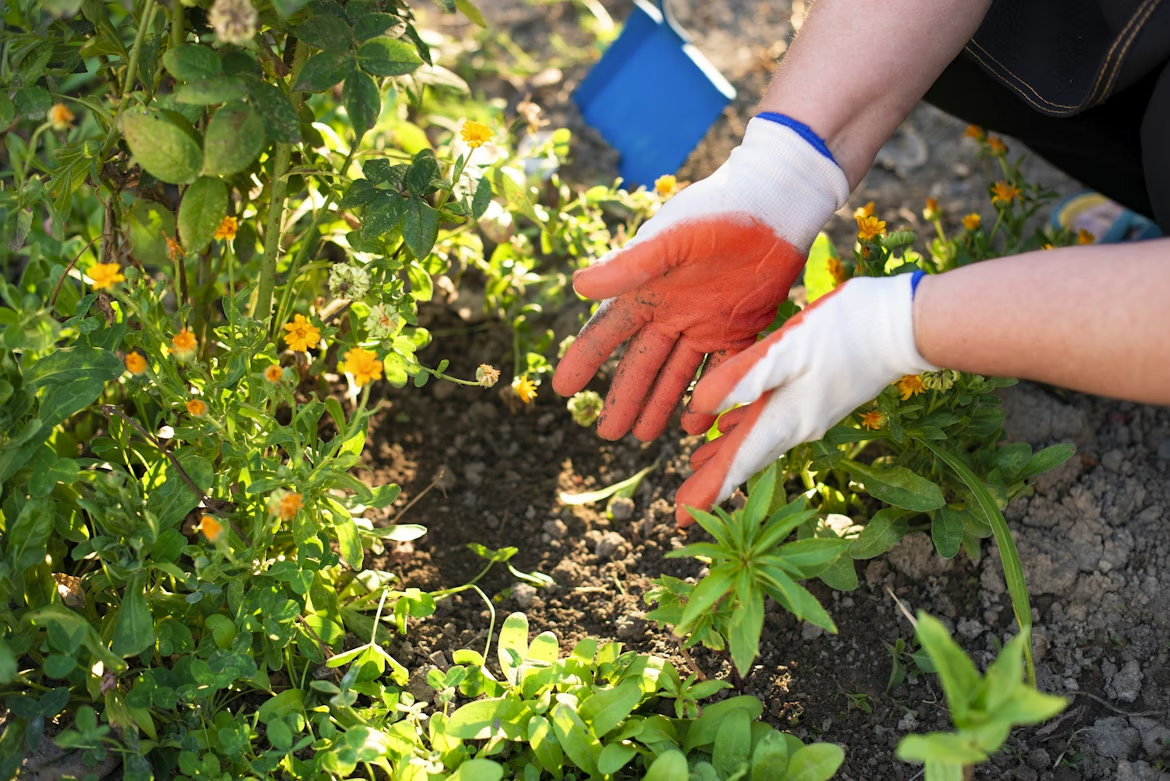
I used to spray chemical pesticides every time I saw something nibbling my plants. It worked short term, but it also killed beneficial insects, smelled terrible, and I genuinely didn’t feel great about growing “edible” herbs covered in spray.
Then I started experimenting with companion planting — essentially, placing certain plants next to each other because they benefit one another.
A few combinations that actually made a difference on my balcony:
- Basil next to tomatoes — basil repels aphids and whiteflies, and supposedly improves tomato flavor (I’m a believer)
- Marigolds near anything — their scent deters a huge range of pests, and they’re easy to grow in small pots
- Mint near brassicas (cabbage, kale) — repels cabbage moths
If you want to go further with this, check out these 11 Clever Plant Pairings That Make Your Garden Flourish — there are some combinations in there I never would’ve thought of.
I still had the occasional pest problem, but nothing like before. And my balcony started looking more interesting with all the mixed planting — more like a real garden, less like sad individual pots in a row.
6. Go Vertical — You Have More Space Than You Think
Most balcony gardeners think horizontally. Floor space, railing space — and that’s it. The wall behind your plants? Totally ignored.
Once I added a simple vertical setup, I effectively doubled my growing area without changing the footprint at all.
What I used:
- A tension-rod shelf system between two walls (no drilling needed)
- Fabric pocket planters hung on the wall with removable hooks
- A freestanding ladder shelf I found secondhand for next to nothing
Fabric pocket planters are genuinely underrated. They’re light, drain well naturally, and you can fit herbs, lettuce, strawberries — anything with shallow roots — in them. A single row of pockets on a sunny wall can grow more herbs than you’d ever actually use.
The 12 Vertical Gardens to Smarten Up Any Space article gave me a few ideas I hadn’t considered, including some clever rail-mounted options that work particularly well on apartment balconies.
Going vertical also has a practical upside on exposed balconies — you can position taller plants to create a windbreak for more delicate ones below.
7. Pay Attention to Your Microclimate — Every Balcony Is Different
This one took the longest to figure out, but it might be the most important.
Your balcony has its own microclimate — a specific combination of sun exposure, wind patterns, reflected heat, and humidity that’s completely unique to your space. Two balconies in the same building can behave surprisingly differently.
I spent months wondering why my mint kept drying out even with regular watering — until I noticed that one wall reflected an insane amount of afternoon heat directly onto that corner. Moved the mint to a shadier spot and it’s been thriving ever since.
How to map your own microclimate:
- Spend a few days just observing — where does morning sun hit? Where is it hottest by 3pm?
- Check for wind — balconies can act like funnels and dry plants out very quickly
- Look at reflected light from walls or nearby glass — this can cook plants on otherwise “shaded” balconies
- Note where water collects or evaporates fastest
Once you understand your space, you can place plants properly. Sun-lovers in the bright spots. Shade-tolerant herbs tucked near walls. Heat-sensitive plants protected from afternoon glare.
A simple trick: put your hand on the wall surface at different times of day. If it’s too hot to hold your hand there, it’s affecting nearby plants.
Common Mistakes That Undo All Your Hard Work
Even with the best hacks, a few bad habits will keep holding you back. Things I personally had to unlearn:
Ignoring pot weight. Heavy ceramic pots on an upper balcony are a structural concern — lightweight fabric or plastic pots are smarter and easier to move when you need to rearrange for seasonal sun changes.
Grouping plants without thinking. Putting a water-hungry plant right next to a drought-tolerant succulent means one of them is always getting the wrong amount. Group plants by their needs, not just looks.
Replanting too often. Every time you disturb roots, the plant needs recovery time. Don’t repot unless you genuinely need to.
Skipping the saucer in summer. Saucers hold a small water reserve that helps on really hot days — but empty them in cooler weather to prevent waterlogging.
A Quick Reference Summary
| Hack | The Key Point |
|---|---|
| Water by feel | Finger test or moisture meter beats any schedule |
| Right pot size | Match size to plant — drainage holes essential |
| Better soil mix | Add perlite and compost to standard potting mix |
| Consistent feeding | Light and regular beats heavy and occasional |
| Companion planting | Use plants to protect plants — less chemical spray |
| Go vertical | Walls and rails are unused growing space |
| Map your microclimate | Observe your space before placing plants |
Balcony gardening genuinely rewards patience and observation more than money or fancy equipment. Most of what I’ve described here costs very little — some of it costs nothing. It’s mainly about paying closer attention to what your plants are telling you and making small, smart adjustments.
Start with one or two of these hacks, not all seven at once. See what shifts. Give it a few weeks. The results, when they start showing up, are surprisingly satisfying for what is essentially a few pots on a concrete ledge.