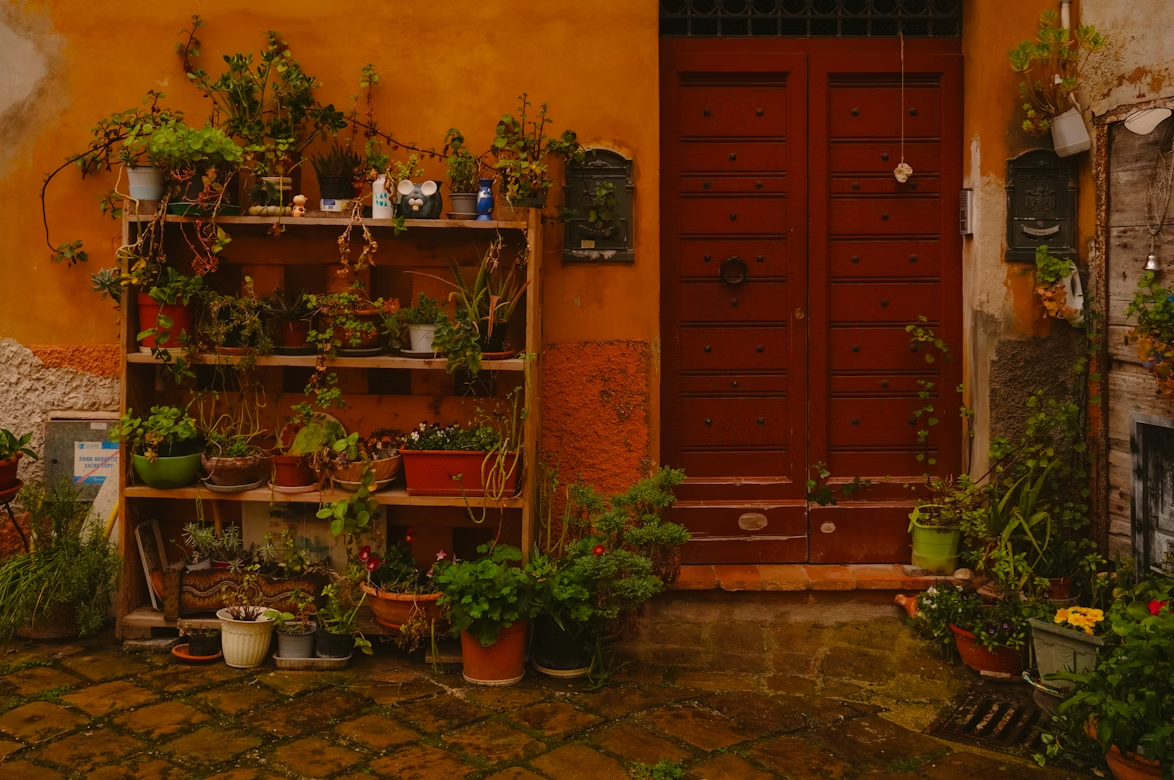
When I moved into my apartment three years ago, the balcony was completely empty. Just bare concrete, a drain in the corner, and about 45 square feet of untapped potential that I had absolutely no idea what to do with.
I remember standing out there with a coffee in hand, trying to picture what it could look like. I’d seen those gorgeous Instagram balconies — the ones dripping with greenery, with herbs in neat rows and tomatoes climbing trellises — and I thought, that’s what I want. I just had no clue how to get there.
My first attempt was honestly chaotic. I bought eight pots of different sizes, placed them randomly around the balcony, and called it a garden. Some plants got no sun because bigger pots were blocking them. Others dried out because I couldn’t even reach them easily to water. It looked messy, and nothing grew particularly well.
The turning point came when I stopped thinking about individual plants and started thinking about layout first. Where does the sun hit? Where does the wind come from? What’s my traffic flow? Once I answered those questions and built a real structure around them, everything changed.
If you’re in an apartment with a small balcony, courtyard corner, or even just a sunny windowsill situation — these five layouts are the ones that actually work.
1. The Single-Wall Layout — Best for Long Narrow Balconies
This was my first proper layout and it genuinely transformed how my balcony felt and functioned.
The idea is simple: you push everything against one wall or railing and leave the rest of the floor open. Instead of scattering pots around, you build upward — shelving, wall-mounted planters, hanging pots — all concentrated along a single surface.
My balcony is long and narrow, roughly 3 feet wide and 15 feet long. Putting pots on both sides made it feel like a cluttered corridor. Once I moved everything to one side and went vertical, the whole space opened up. Suddenly I had room to actually stand out there and enjoy it.
How to set it up:
- Start with a three-tier plant stand against the wall. This alone gives you nine to twelve planting spots in a 2×2 foot footprint.
- Add wall-mounted brackets above for trailing plants like strawberries or nasturtiums.
- Use the railing on the opposite side for railing planters — herbs work perfectly here since they don’t need deep soil.
- Keep the floor completely clear, or add just one chair and a small table at the end.
What works well in this layout:
| Tier/Position | Best Plants | Container Type |
|---|---|---|
| Top shelf (most sun) | Tomatoes, peppers, basil | Deep 5-gallon pots |
| Middle shelf | Lettuce, spinach, herbs | Medium pots or trays |
| Bottom shelf (more shade) | Mint, ferns, shade-tolerant plants | Any container |
| Railing planters | Herbs, trailing flowers | Rail-clip planters |
| Wall hooks | Strawberries, petunias | Hanging baskets |
The single-wall layout is also the easiest to water and maintain because everything is in one place. You move along the wall, check each plant, water what needs it, and you’re done. No awkward reaching, no shuffling pots around.
2. The Corner Cluster Layout — Perfect for Square Balconies and Patios
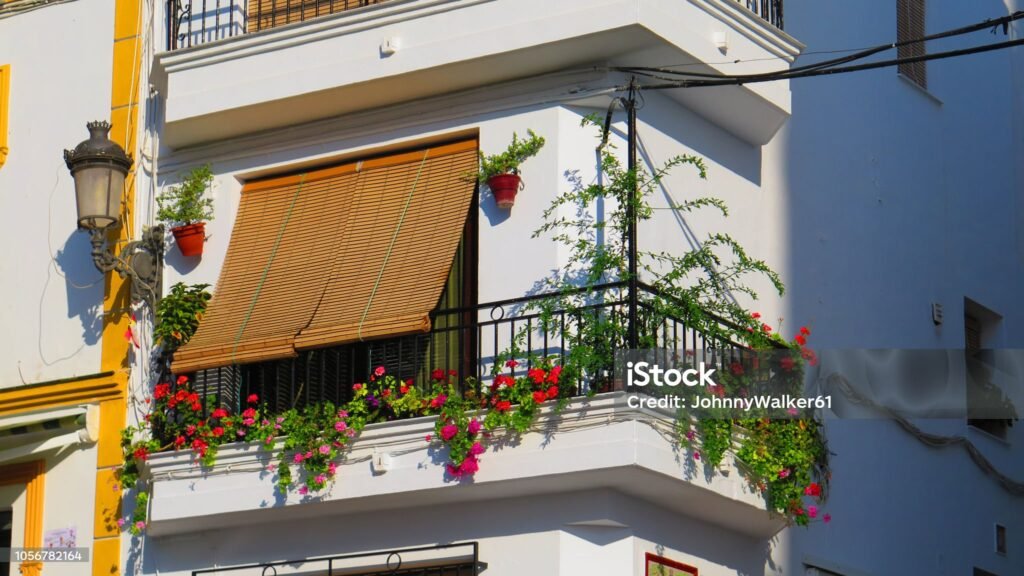
Square balconies are actually a gift that most people don’t know how to use properly. They have two corners, and corners are basically free premium growing real estate that usually just collect dust.
The corner cluster layout uses both back corners as anchor points for taller or more dramatic plants — think tomato cages, tall trellises, or a larger decorative pot with a statement plant. You then arrange smaller pots in a gentle curve or arc flowing out from each corner toward the center.
I tried this layout on a friend’s balcony when she asked for help setting hers up. She had a perfect square space, about 8×8 feet, and had been placing all her pots along just one railing. Two corners were completely empty.
We moved a tall tomato plant in a deep container into each back corner, added trellises behind them, and built outward with progressively smaller pots. The result looked intentional and designed rather than randomly assembled. She said it felt like a completely different space.
Step-by-step for corner clusters:
- Identify your two back corners (furthest from the door)
- Place your tallest or largest plants there — they anchor the whole layout
- Work forward from each corner with medium-sized pots, slightly overlapping the arc
- Fill gaps with small herb pots or trailing plants
- Leave a clear path down the center so you can move through comfortably
The corner cluster layout also creates natural shade gradients — taller plants in the corners shade smaller plants nearby during the hottest part of the day, which actually helps heat-sensitive herbs like coriander and parsley survive summer better.
For anyone working with a square balcony and wanting more layout inspiration, The 7 Hacks You Need for an Essential Balcony Setup covers some really practical arrangement ideas that pair well with this approach.
3. The Windowsill + Indoor Shelf Layout — For Apartments With No Outdoor Space
Not everyone has a balcony. Some apartments have a south-facing window and that’s it. For a long time I thought you needed outdoor space to grow anything meaningful. That assumption was completely wrong.
A windowsill and one indoor shelf, positioned strategically, can support a surprisingly productive little herb and greens garden. I set one up in a friend’s apartment when she moved into a place with no balcony at all, just a large kitchen window facing southeast.
We used the windowsill for the herbs that needed the most direct light — basil, chives, and a cherry tomato plant in a self-watering pot. On a shelf positioned just a foot back from the window, we placed lettuce trays and mint. Everything got enough light, and within six weeks her kitchen smelled incredible.
The key to making this layout work:
- Light is your most limiting factor. Measure how many hours of direct sun your window gets. South or southeast-facing windows in the northern hemisphere are best. East-facing gives morning light, which is gentler but still usable.
- Self-watering pots are genuinely worth it for indoor growing. They have a reservoir at the bottom, which prevents both overwatering and the constant drying out that happens with small pots near sunny windows.
- Grow lights are a legitimate option if your window is north-facing or mostly shaded. A basic LED grow light on a timer (12 hours on, 12 off) costs around $20–30 and makes a dramatic difference. I use the Barrina T5 grow light strip for a small indoor setup — it’s cheap, compact, and works well.
- Use shallow containers for lettuce and greens — they don’t need depth, and shallower pots fit window ledges much more neatly.
Plants that genuinely thrive in a windowsill layout:
- Basil (south-facing window only)
- Chives (very adaptable, tolerates less light)
- Loose-leaf lettuce (grows fast, shallow roots)
- Mint (almost indestructible)
- Microgreens (no outdoor space needed at all — grow in a tray on any surface)
Microgreens deserve a special mention here. You grow them in a shallow tray, harvest in 7–14 days, and they require almost no space. Sunflower, pea shoots, radish, and broccoli microgreens are all easy starters. A single tray on your kitchen counter gives you fresh greens in under two weeks.
4. The Vertical Wall Garden Layout — Maximum Plants, Minimum Footprint
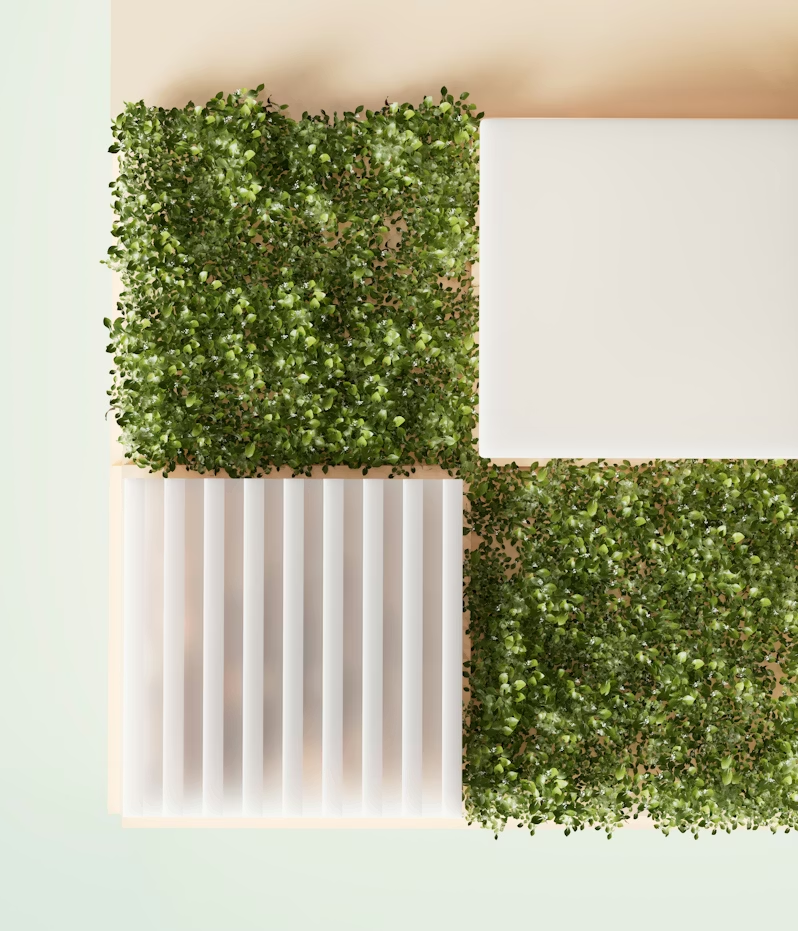
This is the layout that gets the most attention when people see it, and for good reason. A proper vertical wall garden looks genuinely stunning — like a living wall of green on an otherwise bare balcony surface.
But beyond looking good, it’s the most space-efficient layout on this list. You’re using wall space that would otherwise do absolutely nothing.
I built my first vertical garden using a combination of methods, and I’ll be upfront: my first attempt was a disaster. I bought cheap fabric pocket planters off an online marketplace, filled them with heavy potting mix, hung them on a single screw, and watched the whole thing pull out of the wall within two days. Soil everywhere.
The second attempt was better planned:
What actually works for vertical wall gardens:
- Anchor points matter most. Use proper wall anchors rated for at least 3× the weight you’re hanging. A full fabric panel with wet soil is surprisingly heavy.
- Lightweight growing medium is essential. Mix regular potting soil with perlite and coco coir to reduce weight significantly. Avoid heavy garden soil entirely.
- Drip irrigation makes maintenance manageable. Watering a vertical panel by hand is tedious and messy — water runs down and the top pockets dry out faster than the bottom ones. A simple drip line connected to a timer solved this for me completely.
- Choose plants wisely. Shallow-rooted plants work best: herbs, strawberries, lettuce, nasturtiums, small succulents. Deep-rooted plants like tomatoes won’t be happy in a wall pocket.
Types of vertical systems to consider:
| System | Best For | Cost Range | DIY Friendly? |
|---|---|---|---|
| Fabric pocket panels | Herbs, lettuces, flowers | Low | Yes |
| PVC pipe planters | Herbs, strawberries | Low-Medium | Yes |
| Wooden pallet planters | Succulents, herbs | Low | Yes |
| Modular plastic wall tiles | Any small plants | Medium-High | Yes |
| Pre-made trellis + pots | Climbers, beans, cucumbers | Medium | Yes |
The PVC pipe planter is probably my favorite DIY version — you cut holes in a length of pipe, fill it with soil, and mount it horizontally on the wall. Clean, cheap, and surprisingly effective for herbs.
If you want a deeper look at vertical setups with some genuinely creative ideas, 12 Vertical Gardens to Smarten Up Any Space is worth bookmarking — it covers designs from very simple to quite elaborate, with something for every skill level and budget.
5. The Zoned Layout — The Most Functional Setup for Serious Growers
This one is for people who’ve moved past the beginner stage and want to treat their small balcony like a proper productive garden. The zoned layout divides your space into distinct areas, each with a specific purpose.
It sounds more complicated than it is. Basically you’re just being intentional about grouping things by function rather than randomly placing pots wherever they fit.
Here’s how I divided my own balcony once I got serious about it:
Zone 1: The Edible Zone (primary growing area) This is where all my food crops live — tomatoes, herbs, lettuce, radishes, peppers. It occupies the spot with the most sunlight, which on my balcony is the front railing area. This zone gets watered most frequently and receives all the fertilizing attention.
Zone 2: The Low-Maintenance Zone Tucked into the shadier corner, this zone has plants that don’t need much attention — pothos, a peace lily, a couple of succulents, and trailing vines that drape over the railing. These are the plants that make the balcony look lush without requiring daily care.
Zone 3: The Seating Zone One small bistro chair and a narrow side table. This takes up about 8 square feet but is non-negotiable — if I can’t sit outside and actually enjoy the space, what’s the point?
Zone 4: The Propagation Corner A small shelf where I keep seedling trays, a bag of soil mix, and basic tools. Having a dedicated spot for this means starting new plants doesn’t take over the whole balcony.
The genius of the zoned layout is that it creates order. When your balcony has clearly defined areas, it looks intentional and designed rather than overcrowded. Even with 15+ pots, my balcony feels calm and organized because everything belongs somewhere specific.
Setting up your zones — a quick framework:
- Observe your balcony for a full day. Note where sun falls in the morning, midday, and evening.
- Mark out your sunniest spot — that’s your edible zone.
- Decide how much seating space you genuinely need. Be honest. One chair is usually enough for a solo apartment dweller.
- Whatever space remains goes to low-maintenance plants or a small work corner.
- Keep zones consistent. Don’t let the edible zone creep into the seating zone over time.
For more ideas on planning out a productive small garden space, 6 Proven Small Space Gardening Layouts for Tiny Homes goes into some great detail on making the most of every square foot — really practical stuff for apartment gardeners.
Common Layout Mistakes That Quietly Kill Your Garden
Before you start rearranging, here are the mistakes I see most often — and made myself:
Prioritizing looks over light. A beautiful arrangement that puts sun-loving plants in shade will fail every time. Always sort sunlight access first, aesthetics second.
Blocking your own access. If you can’t comfortably reach a plant to water it, you’ll water it less. And it will suffer. Keep your most water-thirsty plants closest to where you enter the balcony.
Ignoring weight limits. Apartment balconies have load limits, usually around 50–75 lbs per square foot but sometimes less on older buildings. Wet soil is heavy. Large ceramic pots are heavy. If you’re filling half a balcony with containers, check your building’s specs or use lightweight pots and soil mixes.
Putting everything at the same height. Varying heights make a garden feel layered and full. It also improves airflow between plants, which reduces fungal problems. Use shelves, pot risers, hanging baskets, and wall planters to create different levels.
Redesigning every season. Once you find a layout that works, stick with it. Constantly moving pots around disturbs roots, wastes time, and disrupts the natural rhythm of your plants. Change what’s in the pots seasonally, but leave the structure itself in place.
A Quick Layout Comparison
| Layout | Best For | Space Required | Difficulty | Best Plants |
|---|---|---|---|---|
| Single-Wall | Narrow balconies | Any long, narrow space | Easy | Herbs, tomatoes, greens |
| Corner Cluster | Square balconies | 6×6 ft minimum | Easy-Medium | Mixed vegetables, flowers |
| Windowsill + Shelf | No outdoor space | Just a window | Easy | Herbs, microgreens, lettuce |
| Vertical Wall | Any balcony, maximum plants | As little as 2 sq ft floor | Medium | Herbs, strawberries, flowers |
| Zoned Layout | Dedicated serious growers | 30+ sq ft ideal | Medium | Full mixed garden |
The layout you choose matters more than the plants you pick, the pots you buy, or the fertilizer you use. Get the structure right and everything else becomes easier — watering, maintenance, harvesting, even just enjoying the space.
Start with the layout that matches your actual space and honest lifestyle. If you’re busy, the single-wall or windowsill setup will serve you better than an elaborate zoned system. If you’re genuinely committed and have the space, the zoned layout will reward that investment.
Either way, the best thing you can do is just start. Measure your space, observe the sun, and pick one approach. You can always adjust as you learn what works for your particular spot.