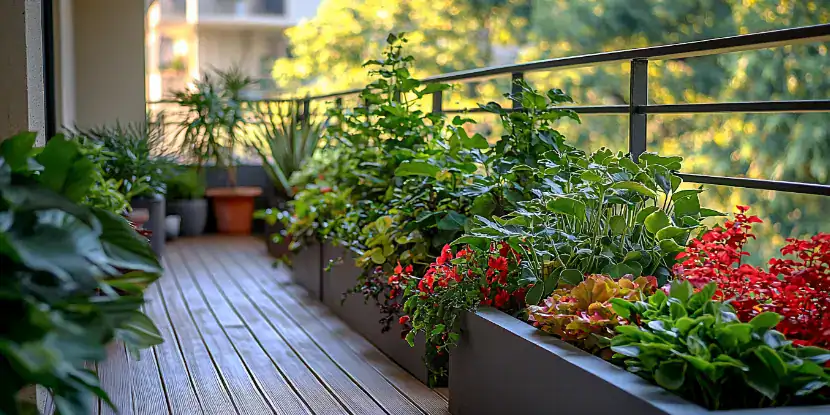
I still remember the day I looked at my sad, empty balcony and thought — this is just wasted space. A few plastic chairs, a dead cactus I forgot to water, and a mop I had no idea why I kept outside. Not exactly the peaceful garden corner I dreamed about.
Then one afternoon, after watching my neighbor grow tomatoes in what looked like old paint buckets, something clicked. If she could grow food on a balcony half the size of mine, I had zero excuses.
That was the beginning of my balcony gardening obsession. I’ve made a lot of mistakes since then (RIP, my first basil plant), but I’ve also figured out what genuinely works — especially when space is tight. Here’s everything I’ve learned packed into 7 ideas you can actually use.
1. Go Vertical — Your Walls Are Free Real Estate
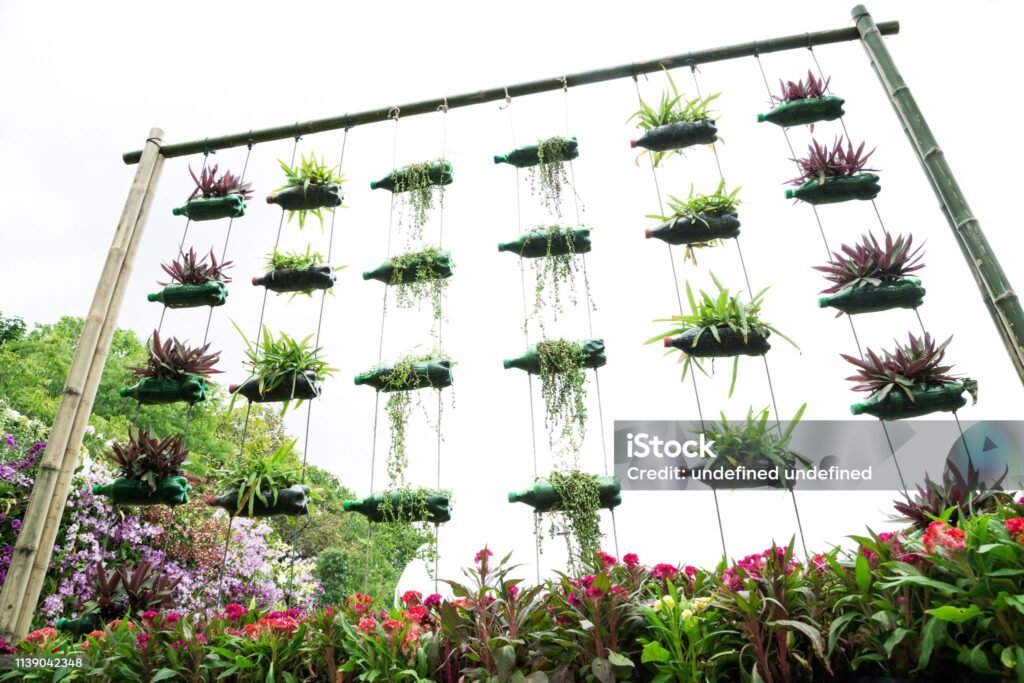
Most people think small balcony = small garden. That’s just not true. The trick is to stop thinking horizontally and start looking up.
Vertical gardening changed everything for me. I attached a simple wooden pallet to my balcony railing (after checking my building rules — important!), lined it with coco coir pots, and suddenly I had 12 extra planting spots without using a single extra inch of floor space.
You can go a lot of directions here:
- Pocket wall planters — fabric ones are especially lightweight and great for herbs
- Stacked plant stands — a three-tier metal stand from any home store can hold 6–9 pots
- Repurposed wooden pallets — free or cheap, and surprisingly sturdy
- Mounted PVC pipe planters — a little DIY effort but incredibly space-efficient
The key rule: heavier pots go at the bottom, lighter ones go up top. I learned that the hard way when a terracotta pot fell and cracked at 2 AM.
If you want more inspiration on using vertical space cleverly, 12 Vertical Gardens to Smarten Up Any Space has some genuinely creative setups worth bookmarking.
2. Use Rail Planters to Claim Every Edge
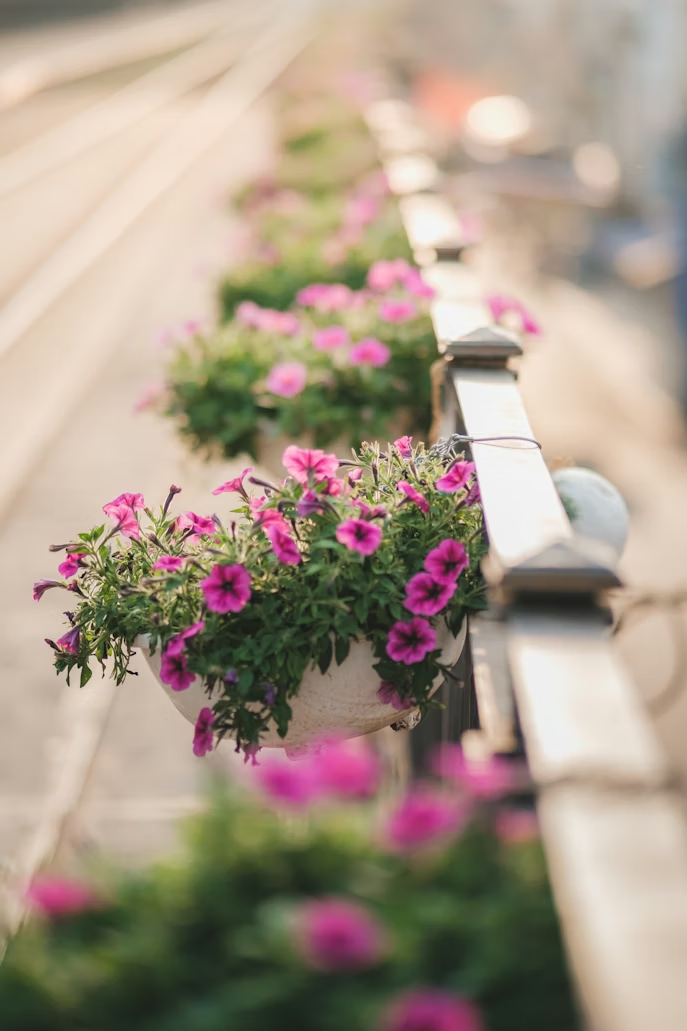
Your balcony railing is doing nothing right now except keeping you from falling off. It can do more.
Rail planters are specifically designed to hook onto or clamp around balcony railings, and they’ve become one of my favorite tricks for adding greenery without sacrificing floor space. I use them for strawberries, trailing petunias, and mint (mint especially, because it spreads aggressively and does better slightly contained).
What to look for in a rail planter:
| Feature | Why It Matters |
|---|---|
| Adjustable clamp width | Fits different railing sizes |
| Drainage holes | Prevents root rot |
| UV-resistant material | Lasts longer in direct sun |
| Weight capacity rating | Safety — especially on high floors |
Make sure you check your railing’s load-bearing capacity before going overboard. Most standard balcony railings handle about 15–25 kg, so plan accordingly. I personally use self-watering rail planters now — they have a small reservoir at the bottom and have saved me from over and under-watering more times than I can count.
3. Grow What You’ll Actually Use (Not What Looks Pretty in a Photo)
This is the mistake almost every beginner makes — including me.
I planted lavender because it looked gorgeous in pictures. Our climate? Extremely humid summers. Result? Mushy, rotted lavender within three weeks. Gorgeous on Instagram, useless in real life.
Grow what fits your climate and your lifestyle. If you cook a lot, herbs like basil, coriander, mint, and chives are absolute gold. They’re compact, fast-growing, and you’ll actually use them. If you want something more decorative, marigolds and nasturtiums are hardy, colorful, and — bonus — they repel pests naturally.
Easiest crops for small balcony beginners:
- Cherry tomatoes — smaller varieties like Tumbling Tom work great in hanging baskets
- Lettuce and spinach — grow fast, love partial shade, perfect for window boxes
- Chillies — compact, productive, and love hot sun (great for South Asian climates)
- Coriander (cilantro) — grows in clumps, harvest the outer leaves and it keeps going
- Radishes — ready in 25–30 days, the ultimate beginner win
If you want a proper list of what grows easily without much fuss, 7 Easy Crops for Beginners That Will Really Grow is worth a read before you buy your first seeds.
4. Master the Art of Container Selection
Not all pots are created equal, and this is something nobody tells you until you’ve wasted money on the wrong ones.
I spent a lot on beautiful terracotta pots early on. They look stunning, but they dry out fast — especially in summer heat. If you’re in a warm, sunny climate, you’ll be watering twice a day just to keep up. Eventually I switched to glazed ceramic and self-watering plastic containers, and my plants thanked me almost immediately.
Quick container guide by plant type:
| Plant Type | Best Container | Minimum Depth |
|---|---|---|
| Herbs (basil, mint) | Window box / fabric pot | 15 cm |
| Cherry tomatoes | 10–15 litre bucket or pot | 30 cm |
| Lettuce / spinach | Shallow rectangular tray | 15–20 cm |
| Chillies | 5–8 litre pot | 25 cm |
| Strawberries | Hanging basket / rail planter | 20 cm |
One thing I’d tell my past self: always get pots with drainage holes. Plants sitting in waterlogged soil develop root rot fast. If a pot you love doesn’t have a hole, drill one yourself — it takes 30 seconds and could save your plant’s life.
And don’t overlook unusual containers. I’ve grown coriander successfully in an old colander and chillies in a 10-litre paint bucket. Creativity counts.
5. Sort Out Your Soil — It’s Not Just “Dirt”
This was my biggest early mistake. I used regular garden soil from a bag at the local nursery. Heavy, compact, drains terribly in pots, and basically strangled my plants from the roots up.
Container gardening needs a specific kind of soil mix — one that drains well but still retains enough moisture to keep roots happy. Most experienced balcony gardeners (including me now) use a mix like this:
Basic Balcony Container Mix:
- 40% good quality potting mix
- 30% perlite or coarse sand (for drainage)
- 20% compost (for nutrients)
- 10% coco coir (for moisture retention)
You can buy pre-made potting mixes, but honestly, making your own is cheaper and you know exactly what’s in it. The perlite is non-negotiable for me — it keeps the soil from compacting and lets roots breathe.
For feeding, I switched to slow-release fertilizer granules at the start of the season and liquid seaweed feed every two weeks during active growth. It’s simple, and the results are consistent. Avoid overdoing nitrogen if you’re growing fruiting plants like tomatoes or chillies — too much leafy growth, not enough fruit.
6. Set Up a Watering Routine That Works for Real Life
Here’s the honest truth: the number one killer of balcony plants is inconsistent watering. Not bugs. Not sun. Us.
We get busy, forget for three days, then panic-water twice in one day. Plants hate that rollercoaster. The roots get stressed and never really settle.
What actually works:
Check the soil, not the schedule. Stick your finger about 2 cm into the soil. If it’s dry, water. If it’s still damp, leave it. Simple, but most people ignore this.
Water in the morning. Evening watering can leave moisture sitting on leaves overnight, which invites fungal issues. Morning watering gives the soil time to absorb it before peak heat.
Get a moisture meter. I picked one up for under $10 (available on Amazon or any garden shop). It’s a small probe you stick in the soil and it tells you exactly how wet or dry it is. Game changer for anyone who second-guesses themselves constantly.
Self-watering pots and drip systems. If you travel often or just tend to forget, these are genuinely worth the investment. Even basic drip kits that connect to a tap with a timer exist for around $20–$30 and can water an entire small balcony garden automatically.
Understanding The 8 Plant Watering Rules Every Owner Should Follow helped me actually understand why timing and technique matter so much — not just what to do but the reasoning behind it.
7. Design the Layout Before You Buy a Single Plant
I skipped this step completely the first time around. I bought plants randomly, squeezed them wherever they’d fit, and ended up with a chaotic mess where nothing could breathe and some plants were blocking sunlight from others.
Planning your balcony layout before spending money makes everything easier.
Step 1: Observe your sunlight. Spend one day noticing where sun hits your balcony and at what time. Full sun (6+ hours) suits tomatoes, chillies, and most herbs. Partial shade suits lettuce, spinach, and ferns.
Step 2: Sketch a rough plan. You don’t need to be an artist. A simple top-down sketch with measurements is enough. Mark where your railing is, any walls, and any permanent furniture.
Step 3: Assign zones. Tall plants go at the back or against walls (so they don’t shade smaller ones). Trailing or hanging plants go near the edges. Frequent-use herbs go closest to the door.
Step 4: Account for airflow. Don’t pack plants so tightly that air can’t move between them. Poor airflow leads to mold, mildew, and pests.
A simple layout example for a 2m x 1.5m balcony:
| Zone | What Goes Here |
|---|---|
| Back wall | Vertical pocket planters (herbs) |
| Railing | Rail planters (strawberries, trailing flowers) |
| Left corner | 1 large pot (cherry tomato) |
| Right corner | 1 large pot (chillies) |
| Centre floor | 2–3 medium pots (lettuce, spinach) |
| Hanging hooks | Basket with herbs or flowers |
This kind of intentional layout turns even a truly tiny space into something that feels lush and organized rather than cluttered.
Common Mistakes to Avoid (So You Don’t Learn These the Hard Way)
A few things I wish someone had told me earlier:
Overcrowding is real. It’s tempting to fill every inch, but plants need room. Overcrowding leads to competition for nutrients, blocked airflow, and faster spread of disease.
Ignoring weight limits. Balconies have load ratings. Wet soil is surprisingly heavy — a 30-litre pot with wet soil can weigh 35+ kg. If you’re stacking several large pots, do the math before your building management does it for you.
Buying plants instead of seeds. Seeds are much cheaper and honestly more satisfying. You get to watch the whole process and understand your plants better. Start seeds in small trays indoors if your balcony is windy.
Skipping pest checks. Check the undersides of leaves every week. Aphids, spider mites, and whitefly all hide there. Catching them early means a quick spray of diluted neem oil; catching them late means losing your plant.
Giving up after one failure. Every gardener kills plants. It’s part of the process. I’ve lost count of how many basil plants I’ve murdered. Each one taught me something.
Final Thoughts
A small balcony isn’t a limitation — it’s actually a great place to start. You’re working with a manageable space, a smaller plant collection, and enough control over conditions to really learn what works.
Start simple. Pick two or three easy plants. Get your container mix right, figure out your watering rhythm, and make sure your layout makes sense before you spend any money. Once you see something actually growing — something you planted and tended — it becomes genuinely addictive.
And honestly, there’s something incredibly satisfying about snipping fresh coriander for dinner from a balcony garden you built yourself. Even if that balcony used to hold a dead cactus and a mop.